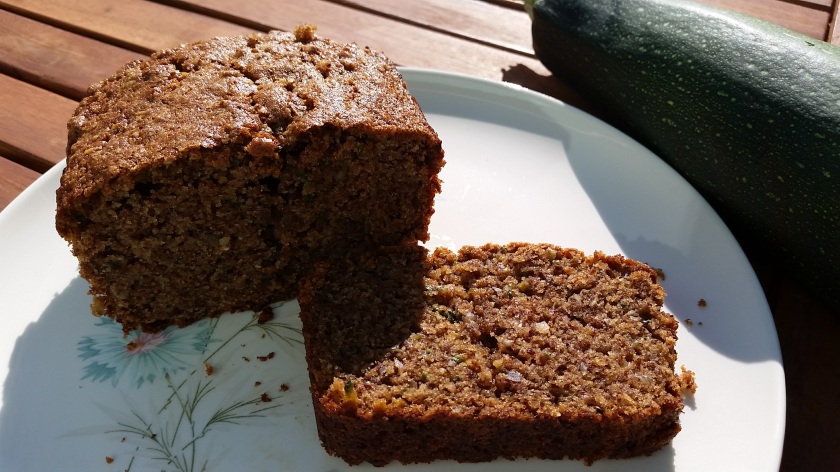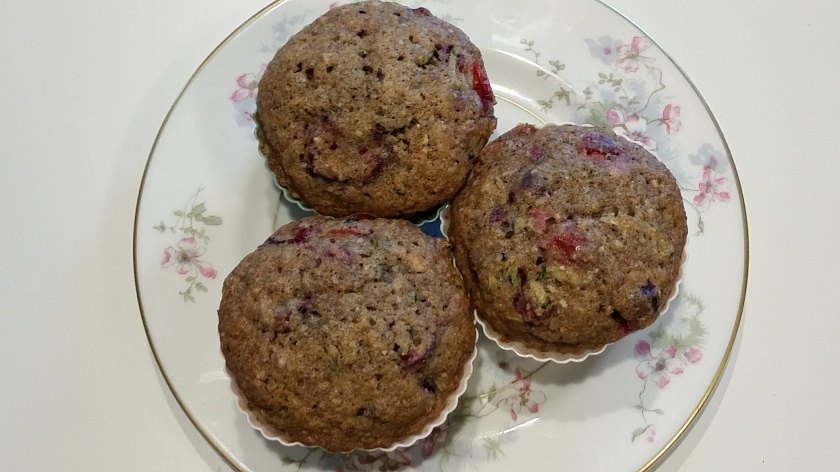
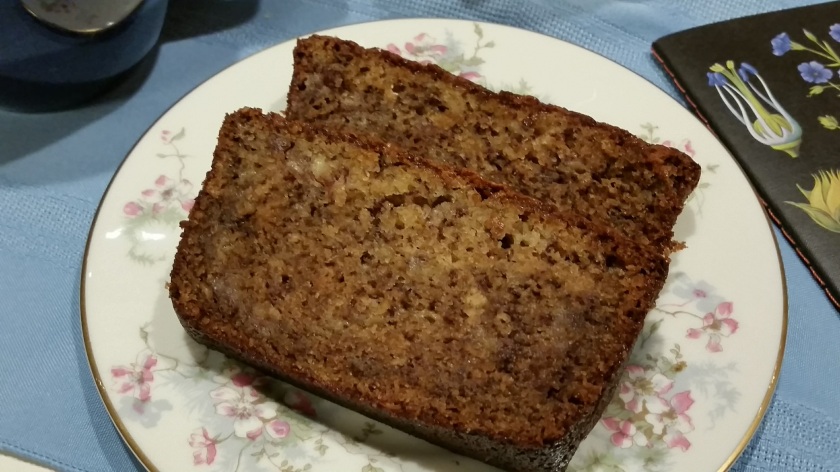
Several months ago I happened upon a scrumptious banana bread recipe in an unlikely place… a kid’s magazine. The recipe below is just slightly adapted from Joanne Chang from the Flour Bakery in Boston, and was featured in kazoo magazine issue #3. The recipe produces a sweet, tender crumbed, delicate banana bread, with slightly addictive qualities. If you happen to have 7 ripe bananas laying around, you should definitely make 2 loaves!
I’ve made this a few times now with my 7-year old, and it’s definitely good for teaching her about fractions, and following a sequential procedure. However, there are a few steps, namely the extended period of beating the eggs and sugar, that are honestly not very kid-friendly. So, feel free to make this on your own in half the time it takes to collaborate with a kid in the kitchen! 😉
Ingredients:
- 1 cup all-purpose flour plus 1/3 cup whole wheat flour
- 1 teaspoon baking soda
- 1/4 teaspoon cinnamon
- 1/2 teaspoon salt
- 1 cup plus 2 tablespoons sugar
- 2 eggs
- 1/2 cup vegetable oil
- 3 1/2 ripe bananas mashed
- 2 tablespoons sour cream
- 1 teaspoon vanilla extract

Steps:
- Preheat oven to 325 degrees and butter a 9 x 5 inch loaf pan.
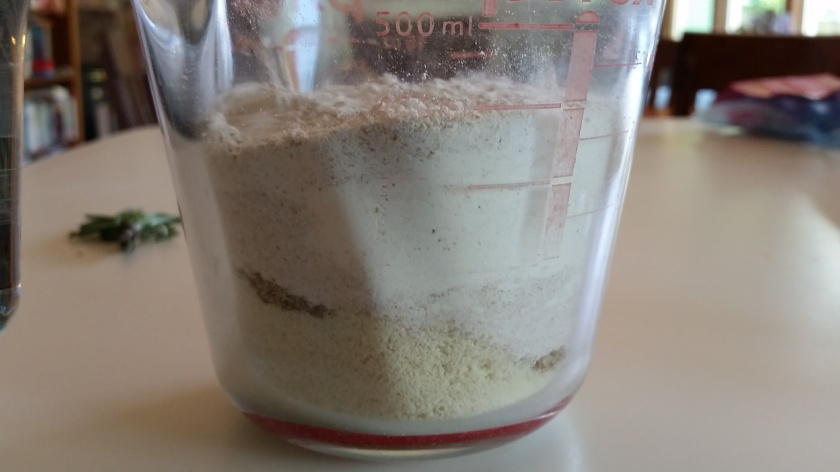
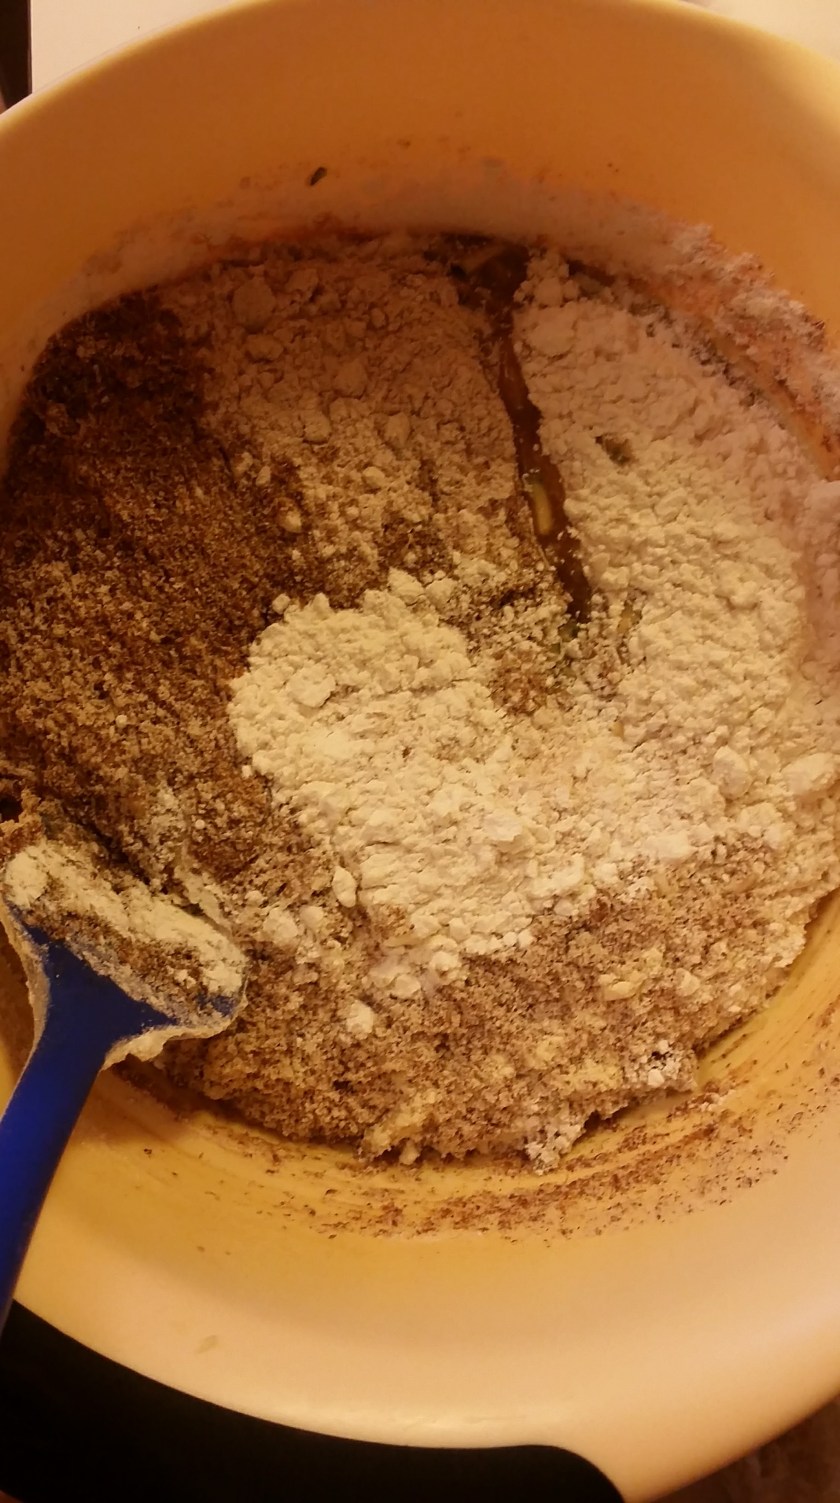
- Sift together the flours, baking soda, salt, and cinnamon in a small bowl and set aside.
- In a big bowl, beat the sugar and eggs with an electric hand mixer until they’re light and fluffy ~ about 8 minutes!
- With the mixer on low speed, drizzle the oil slowly into the egg mixture, so that it doesn’t make the batter collapse.
- On low speed, mix in the mashed bananas, sour cream, and vanilla.
- Stir in the dry ingredients with a spoon, until the flour totally disappears.
- Pour the batter into your pan and bake for 60 – 75 mins. It should spring back when touched. (This time it took 78 mins. to bake! I suspect that the time is variable based on the size and ripeness of your bananas.)
- Let cool for about 20 mins. and then slice and serve.