Fruit Syrups

I’ve been making fruit syrups for several years now since they’re a fun topping for pancakes or waffles, and you can use them with sparkling water to make fancy mocktails, mix them into plain yogurt, or for shave ice without all the food coloring!

You can use a variety of fruits or pulps, and add flowers or herbs to customize your syrups. This is one of those things that feels less like a recipe and more like general guidance, because it’s pretty easy and adaptable. Once you make a few batches with different fruits, you can experiment with using more or less sugar, different kinds of sweeteners, trying your own add-ins, and so on.

Yield: about 2 cups of syrup

Ingredients:

  • 2 cups of berries, pureed fruit, or fruit pulp
  • 1/2 cup – 1 cup white sugar
  • (Optional) 1/4 cup water for thicker fruits
  • (Optional) 1 or 2 teaspoons lemon juice
  • Note: For more acidic or sour fruits, use the higher range of sugar, and for sweeter fruits like strawberry or blueberry, start at the lower end of the range of sugar.

Tip: For tropical fruits, Goya sells 14 oz. bags of frozen pulp that work great.

  1. Combine the fruit or pulp with the sugar and water (if using) in a pot and cook on medium heat, stirring occasionally.
  2. Cook until mixture comes to a boil and let it simmer. Watch for the mixture to start thickening; this usually takes 15 – 20 minutes.
  3. If the mixture seems too thin or tastes too tart, you can add more sugar a few tablespoons at a time. If it’s too thick, you can add water a 1/4 cup at a time. You can also add 1 or 2 teaspoons of lemon juice to brighten flavors or if you feel the syrup is too sweet.
  4. Depending on the type of fruit or if you used herbs, you will want to strain it to remove seeds, skin, or excess pulp (eg. blueberries, rhubarb, raspberries). You can also control the thickness of the syrup partly based on whether you puree or smash the fruit when straining, or only capture the liquid.
  5. Allow the syrup to cool if you plan to store it in a plastic squeeze bottle, or transfer it to a glass bottle or jar. Syrups will keep in the refrigerator for a few weeks generally, or you can freeze them.

Optional Add-ins:

  • Lavender, mint, rosemary, or tarragon: if using fresh herbs, start with 1 tablespoon and add during step 2 above. For dry herbs, start with 1 teaspoon.
  • Rose or orange blossom water: start with 1 – 2 teaspoons, and add after step 4 to avoid cooking off the flavor.
Lulo syrup that's ready to cool and bottle.

Apple & White Cheddar Scones

I thought I wrote this recipe up a long time ago, because I’ve been making it a lot every Fall the last few years. I mostly wait until a very special apple becomes available, the Mountain Rose, which has bright pink flesh and is only grown in the Mount Hood region (from what I’ve read). But you could bake these with any crisp and lightly tart apple; the color just won’t be as striking. I’m also partial to using very sharp white cheddar for the best flavor.

Fresh batch of scones ready to enjoy!

I adapted this recipe from Smitten Kitchen, who in turn adapted it from Bill Yosses’ cookbook The Perfect Finish. I’ve increased the amount of liquid required to bring the dough together, and changed the mixing method. They recommend using a stand mixer which seems like a great way to make a mess of things.

Anyway, I’m finally writing this up because I recently served them with tea for my favorite book club friends, and one person asked for the recipe, and another said, “those might’ve been the best scones I’ve ever eaten… and I’ve eaten a lot of scones!” Indeed, these are in my top 2 or 3 favorite scone recipes. So, clearly you need to put them into your own rotation.

Roasted Mountain Rose apple

Ingredients: (makes 6 medium or 8 smaller scones)

1 pound firm tart apples

1 1/2 cups all-purpose flour

1/4 cup sugar, plus 1 1/2 tablespoons for sprinkling

1/2 tablespoon baking powder

1/2 teaspoon salt, plus additional for egg wash

6 tablespoons cold unsalted butter, cut into 1/2-inch cubes

1/2 cup sharp white cheddar, shredded

1/2 cup heavy cream

2 large eggs, one for the batter and one for brushing the tops of the scones

Note: I actually forgot the sugar in the dough one time, and they still came out great; just a bit more savory. So there’s that option too.

Shortcuts: You can mix the dry ingredients and the chunks of cold butter in a food processor and avoid the work of using a pastry cutter. It’s easy, fast, and effective. Just pulse a few times until you see small bits of butter (pea size is perfect). And, if you feel like the egg wash is too fussy or a waste of an egg, as I occasionally do, instead you can lightly brush a little cream on the tops of the scones and then sprinkle sugar on top.

Directions:

  1. Preheat the oven to 375 degrees and line a baking sheet with parchment paper, or a silicone pad.
  2. Peel and core apples, then cut them into chunks, something like one-sixteenths. Place them in a single layer on the baking sheet and bake them until they take on a little color and feel dry to the touch, about 20 minutes. They will be about half-baked. Let them cool completely. (I often do this step the night before, and leave the sheet with the apples in the oven after I’ve turned it off.)
  3. In a large mixing bowl, whisk flour, sugar, baking powder and salt together. (If I’m really on the ball, I’ll do everything up to this point the night before.) Now add the cold butter pieces to the flour, and cut in with a pastry cutter or two butter knives. Then, add cooled apple chunks and cheddar cheese, and toss gently with flour mixture.
  4. In a separate bowl, whisk cream and one egg. Pour the wet mixture over the top of the flour mixture, and mix with a rubber spatula until the dough just comes together. Do not over mix.
  5. Sprinkle flour on your lined baking sheet, and empty the scone dough on top of it. Sprinkle top of dough with a little more flour. Now, use your floured hands to pat the dough into a 1 1/4-inch thick circle. Cut circle into 6 or 8 wedges. Leave at least 2 inches between each scone on the baking sheet. (It’s also possible to stop here and freeze the unbaked scones or freeze some of them for baking at a later date.)
  6. Beat remaining egg in a small bowl with a pinch of salt. Brush the scones with the egg wash and sprinkle them with remaining tablespoon of sugar.
  7. Bake until firm and golden, about 25 – 30 minutes. With a spatula, lift them to a wire rack to cool for 5 – 10 minutes. 
Dry ingredients with lightly tossed apple and cheese.
Dry and wet ingredients mixed together into a nice craggy mixture.
Hand patted dough ready for slicing into triangles.
With their egg wash and ready for the oven!

Cherry Almond Chocolate Cardamom Muffins

IMG_20180510_075447442

Lately Instagram has been a font of baking inspiration. 😉 I don’t remember where I saw it and they didn’t share a recipe, but someone’s delicious cherry chocolate muffin photo got my brain percolating.

I still have frozen cherries in the freezer from last summer’s u-pick adventures, and last week I found a good base recipe to riff on from King Arthur Flour. The original recipe says cherries and almonds are made for one another, and they definitely are, so that’s why I swapped in some almond flour. But you know chocolate and cherries are pretty amazing together too, and come on cardamom! These came out deliciously light and tender and just plain yummy.

Ingredients:

  • 3/4 cup granulated sugar
  • 1/4 cup chopped chocolate or mini-chocolate chips
  • 1 cup all-purpose flour
  • 1/2 cup spelt flour
  • 1/2 cup almond flour
  • 2 teaspoons baking powder
  • 1/4 teaspoon baking soda
  • 1/2 teaspoon salt
  • 1/2 teaspoon ground cardamom
  • 2 large eggs
  • 1 teaspoon almond extract
  • 1/2 cup buttermilk
  • 1/3 cup melted butter
  • 1 cup chopped cherries (drain before adding to batter)
  • 1/4 cup slivered almonds, lightly toasted
  • granulated sugar, for topping the muffins

IMG_20180510_065358305

Directions:

  1. Preheat the oven to 375°F. Line with paper, or lightly grease a 12-well muffin pan.
  2. Mix all the dry ingredients, including sugar and chocolate, together in a medium bowl.
  3. In a separate bowl, whisk eggs, butter, buttermilk, and extract together.
  4. Blend wet ingredients with dry until just mixed. Gently fold in chopped cherries.
  5. Spoon batter into muffin cups, and sprinkle toasted almonds and granulated sugar on top.
  6. Bake for about 30 mins. or until a toothpick inserted in a muffin comes out clean.

IMG_20180510_070353762

Rhubarb Compote

It’s spring and I finally have productive rhubarb plants in my garden, so I’ve been making rhubarb dishes a couple times a week for maybe a month now? Anyway, I whipped up a rhubarb compote a few times lately, which it turns out is an awesome pancake topping, as well as makes a beautiful and yummy parfait. This almost doesn’t qualify as a recipe since it’s so easy! You can make this compote in 15 – 20 mins., and it keeps for about a week in the fridge, but I doubt it will stick around that long.

IMG_20180429_090531090

Ingredients:

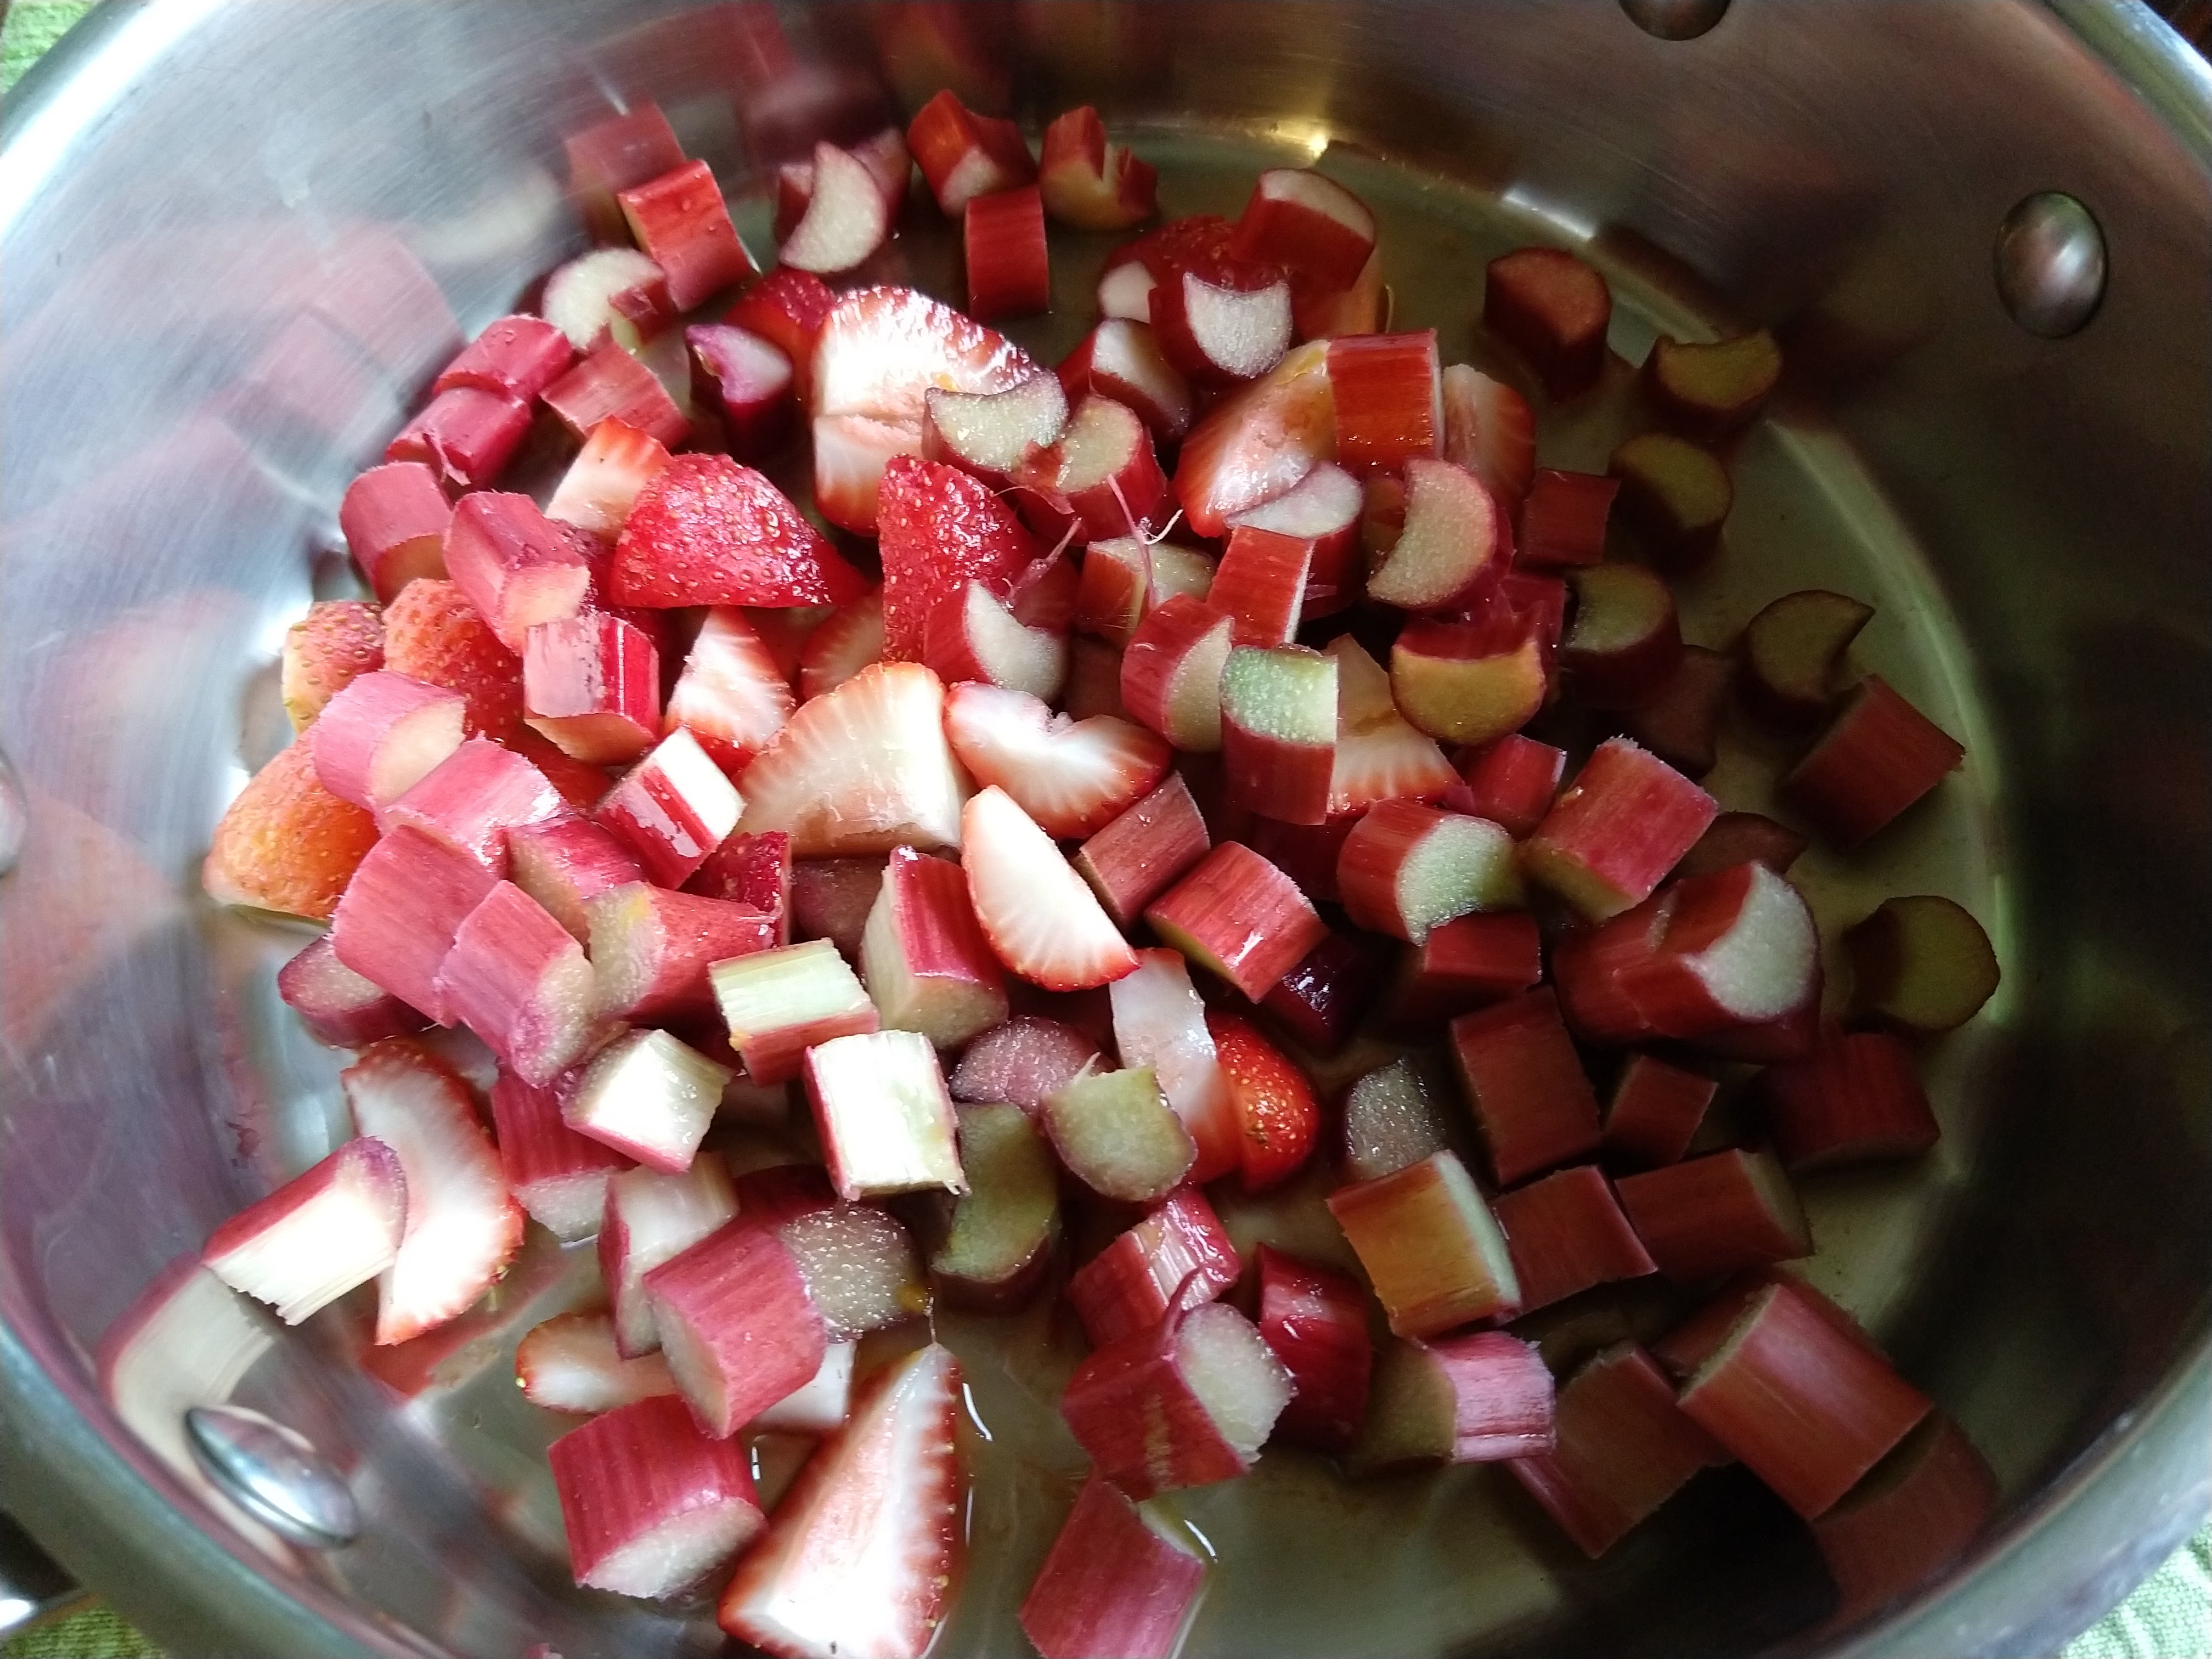
  • 2 cups of chopped rhubarb (sub some strawberries if you want)
  • juice of 1 small mandarin or orange
  • 1/4 cup sugar

IMG_20180506_192812265

Directions: 

Add all ingredients to a wide sauce pan or pot over medium heat. Gently stir occasionally and cook for 10 – 15 mins. until rhubarb is tender, but not total mush.

Serve over pancakes or layer it with yogurt and chia seed pudding for dessert or a special breakfast treat.

IMG_20180506_194625594

IMG_20180507_081515635

Sweet Potato Waffles (wheat-free)

IMG_20171202_090623629
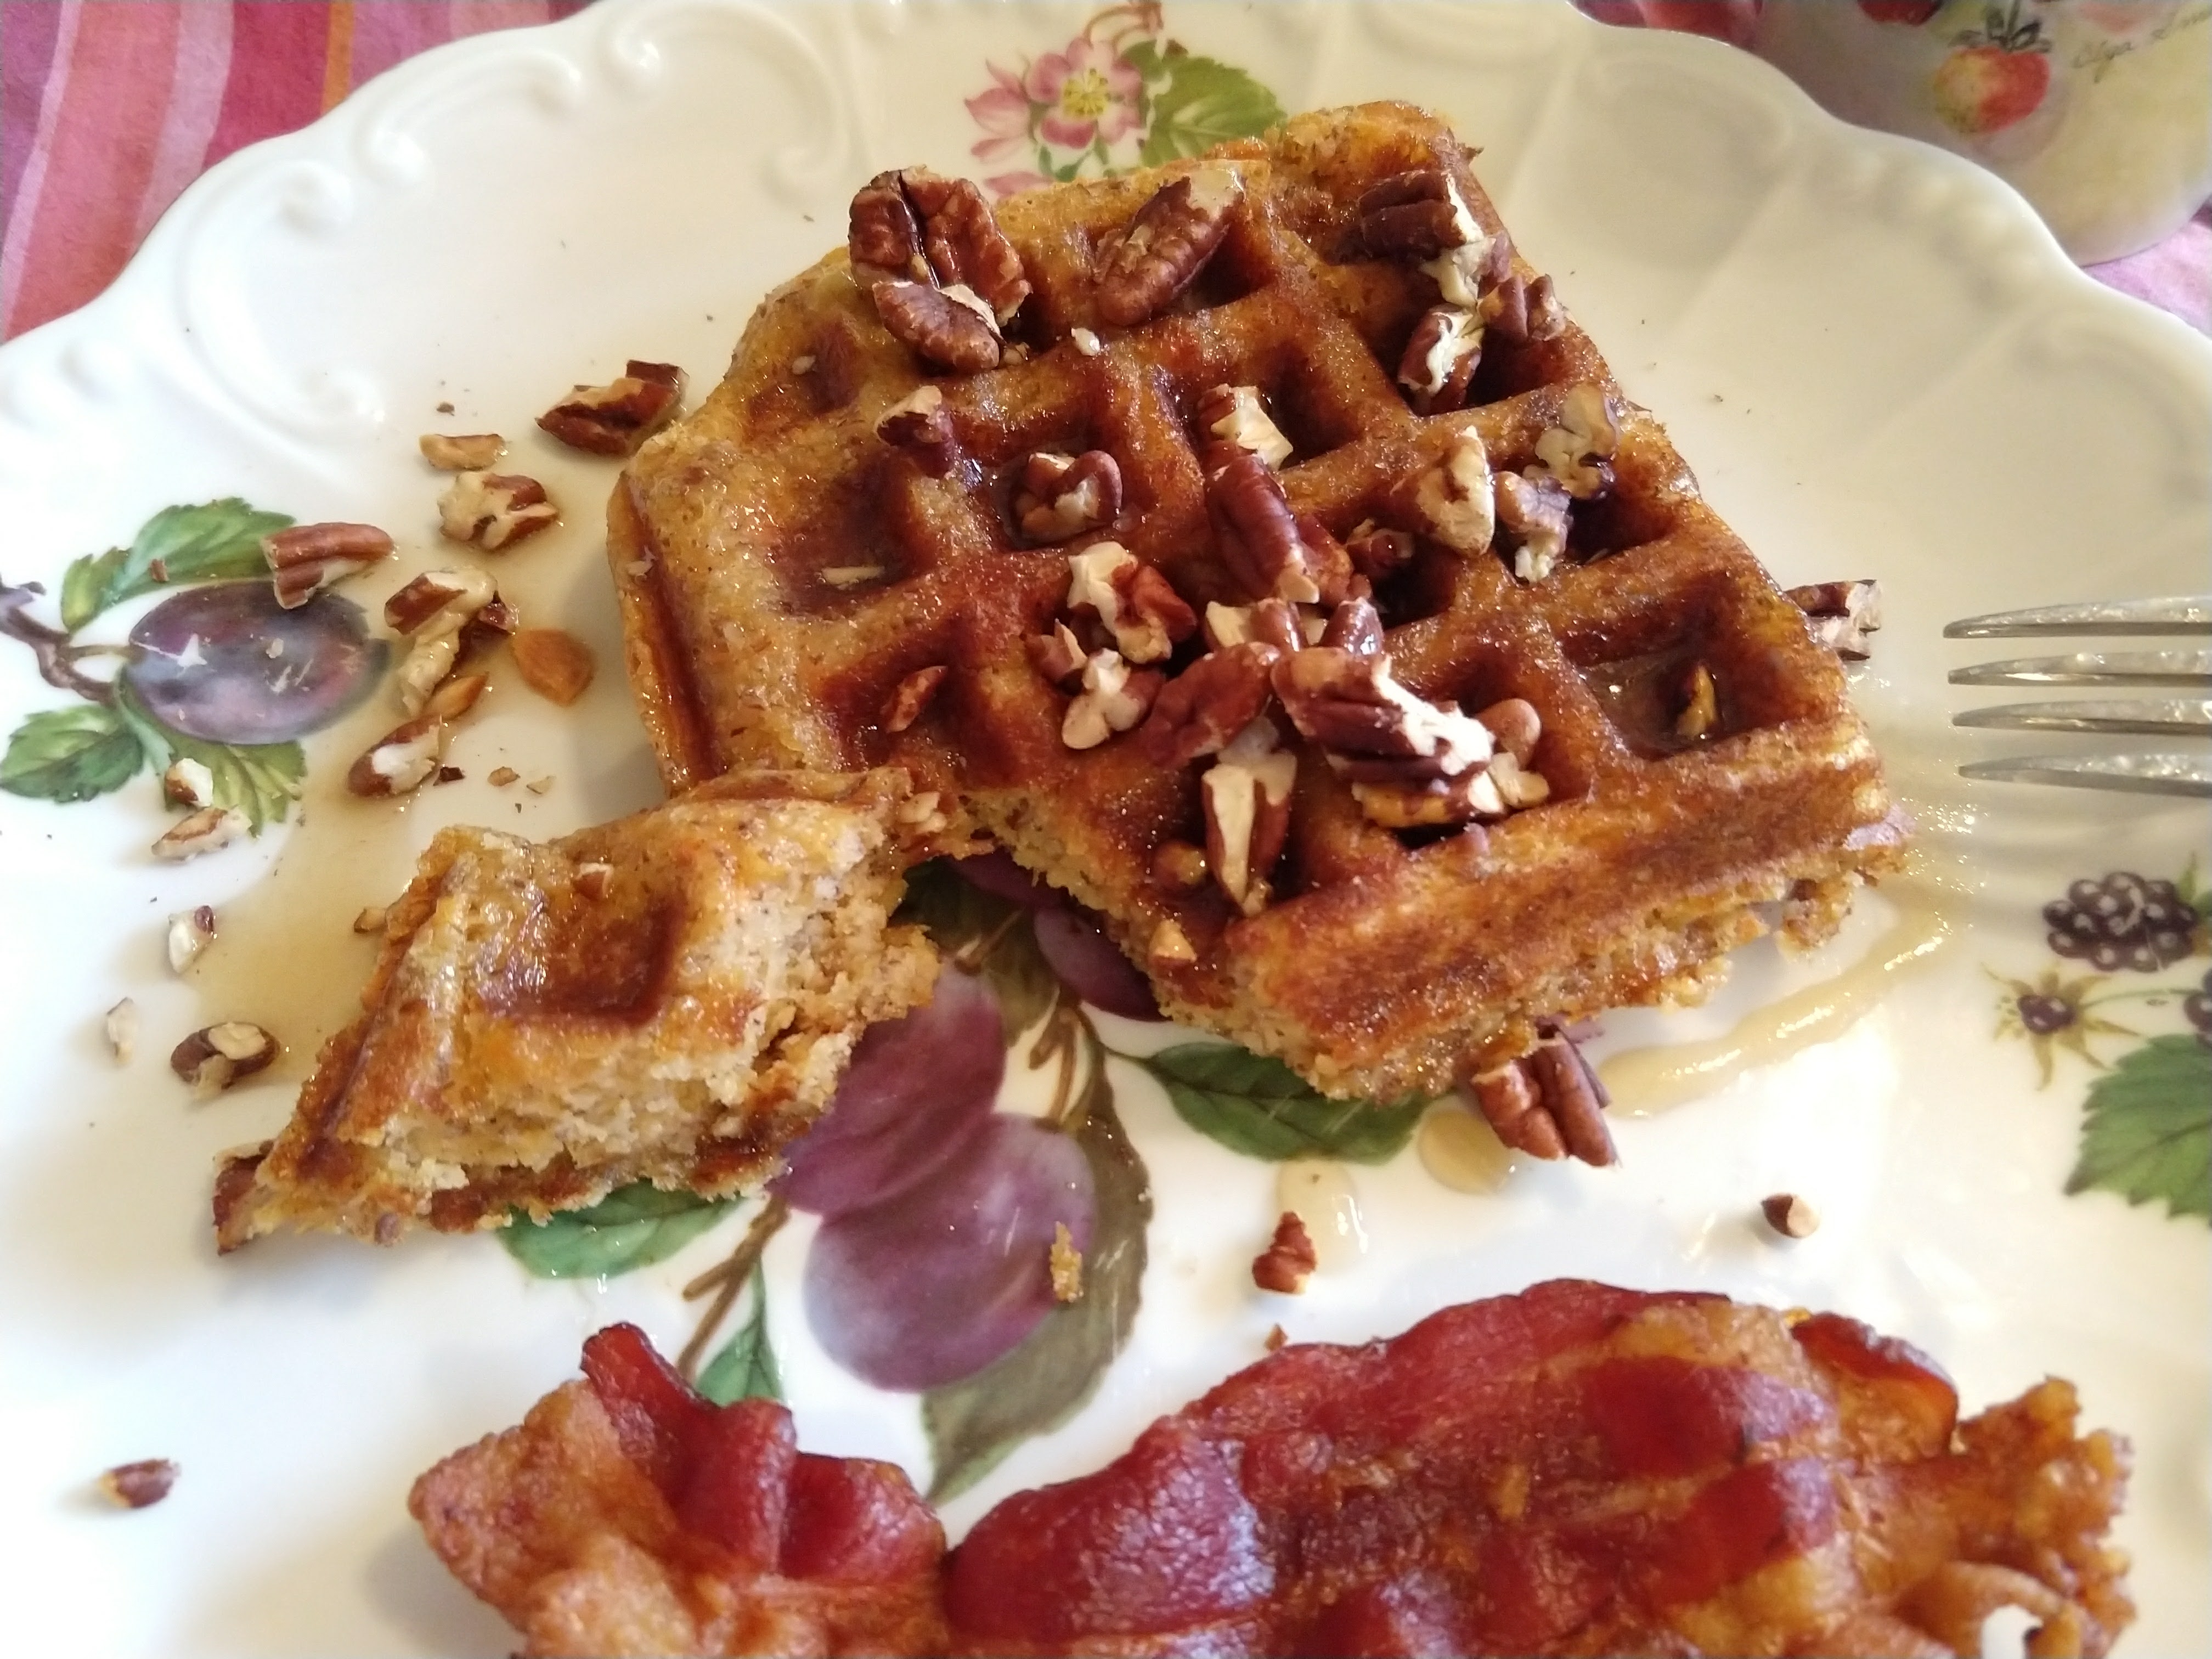
Sweet Potato Waffle with toasted pecans and buttery maple syrup and bacon!

These waffles turned out so delicious this morning, that I’m writing this up 12 hours later before I leave for an international flight tomorrow. 😉 I need to make these again next time I have sweet potato on hand, and you need to make them stat!

I happened to have some leftover baked sweet potato on hand, but you can also cut some potato into chunks and steam them pretty quickly and then mash them up. I’ve been trying to take a break from wheat recently, so I made these with a mix of gluten-free flours. I’m sure they’d taste just as great with all purpose flour, or a mix of whole wheat and all purpose.

If you have pecans and real maple syrup, you must toast the nuts and warm the syrup to complete the dream!

Ingredients:

  • 1 cup mashed sweet potato
  • 2 eggs
  • 1 1/2 cups buttermilk
  • 1/4 cup (half a stick) of melted unsalted butter
  • 3/4 cup brown rice flour
  • 1/4 cup ground flax seed
  • 1/4 cup millet flour
  • 1/4 cup almond meal or flour
  • 1 teaspoon cinnamon
  • 1/2 teaspoon nutmeg
  • 1/2 teaspoon baking soda
  • 3 teaspoons baking powder
  • 1 teaspoon salt
  • 2 tablespoons sugar

Yield: Two large belgian waffles (serves 4 to 6)

Steps:

  1. Mix all of the wet ingredients together in a medium sized bowl and set aside.
  2. In a separate bowl, whisk all of the dry ingredients together.
  3. Preheat your waffle iron and spray it with vegetable oil.
  4. Gently blend the wet and dry ingredients together. The batter will be fluffy. Use a measuring cup to scoop the batter onto the waffle iron.
  5. When the first waffle is done, place it in a 200 degree oven while you cook the remainder of the waffles.
  6. Serve the waffles with toasted pecans and warm maple syrup. If you dare, put a pat of butter in the maple syrup before you warm it!

IMG_20171202_090519525

Cranberry Shrub

IMG_20171201_183043455
Cranberry shrub with sparkling water and rosemary sprigs

I made my first shrub five years ago by way of a solid Sunset magazine recipe. (This was back when they used to include a lot of recipes in each issue and a subscription seemed worthwhile.) Shrubs are at least a few hundred years old and refer to a fruit syrup sweetened with sugar and cooked with vinegar to allow for longer term storage. When combined with water or alcohol, shrubs make a refreshing and tangy beverage.

Cranberries provide such a lovely color and bright flavor, but I’ve found this recipe works equally well with other berries, such as strawberries or blackberries. The vinegar is noticeable, but not overwhelming. You could also incorporate herbs or spices of your choosing.

The syrup can be stored in the fridge and then mixed with sparkling water or alcohol. It’s very easy, quick, and doesn’t require any special equipment. The syrup lasts for up to 3 months in the fridge. The recipe below makes around 24 ounces, so you could easily gift some small bottles if you like.

IMG_20171129_182216335
Cranberries are just starting to burst

Ingredients:

  • 12 oz. fresh or frozen cranberries
  • 1 cup sugar
  • 3/4 cup red wine vinegar
  • 1 teaspoon lemon zest
  • 2 tablespoons lemon juice
  • 2 cups water

Steps:

  1. Bring all of the ingredients to a simmer in a mid-size or large pot over medium heat. Stir occasionally until cranberries start to burst.
  2. Reduce heat to low and cook another 5 – 10 mins.
  3. Strain mixture to remove seeds, pulp, and skin. I don’t press the fruit aggressively through the sieve, but I also don’t mind if there’s small bits of pulp in the syrup.
  4. Chill for at least 1 hour before serving, and then store for up to 3 months in the refrigerator.
  5. To serve, pour a few tablespoons into a glass, and then top with sparkling water or alcohol. Stir and taste. Add more syrup or beverage to taste.

IMG_20171129_185312375
Cranberry shrub syrup

Citrus Curd

IMG_20171118_200440715


Curds are really easy to make, but so tasty, and they make impressive gifts! I had a bunch of mandarin oranges languishing on the counter this week, and curd is a great way to use them up. It doesn’t take that much juice or a lot of time to make a good sized batch.

A few weeks ago I made a lemon and lime curd and watched my family plow through about 12 oz. of it really quickly! My daughter in particular enjoys pairing it with pancakes, but you could also enjoy it on quick bread, scones, toast, and more. I also used the lemon lime curd as filling in little tarts, or you could also use it between cake layers. Yum!

This recipe works for a variety of citrus, but you will want to modify the sugar amount a little bit based on the relative sweetness or tartness of the juice. For example, 2/3 cup of sugar seemed barely enough for lemon and lime, but 3/4 cup of sugar was a bit too much for mandarin orange. If I could do it again, I would reverse them! You can also start with the lesser amount and add a bit to your taste during cooking. The recipe below makes about 22 oz., but I think you could easily halve it if you wish. Or just gift a jar of it!

Curds can be made in a regular pot on the stove, but I prefer using a double boiler. Either way, you have to be fairly attentive to make sure it doesn’t get too hot and curdle your egg mixture. I highly recommend the double boiler for making curds, chocolate fondue, etc. You still have to watch the temperature of the water in the bottom pot, but I think it’s easier to keep the curd from overcooking.

Keep in mind that curds need to be stored in the refrigerator and are best eaten within 3 weeks or so.

Yield: about 22 ounces, or fills three 8 oz. jars scantly

Ingredients:

  • 4 whole eggs, plus 2 yolks
  • 2/3 – 3/4 cup granulated sugar
  • 1 cup of citrus juice, preferably from fresh fruit
  • 1/2 cup (1 stick) unsalted butter
  • (optional) 1 to 2 teaspoons of zest

Steps:

  1. Zest some of your fresh fruit if you wish to include the zest.
  2. Squeeze the juice into a measuring cup. Depending on the size and juiciness of the fruit, it may take about 6 to 8 lemons or mandarins to obtain 1 cup of juice.
  3. Whisk the eggs, yolks, and sugar together in a bowl until they are light and frothy in texture. Then stir in the zest.
  4. In the top of a double boiler on low heat, gently melt the stick of butter. When completely melted, whisk in the juice.
  5. Slowly pour the egg mixture into the pot and stir constantly. It will look thin and bubbly, as in the picture below:

IMG_20171118_193522642
Curd at the start of cooking process

6. Continue stirring and cooking on low heat until the mixture has thickened to a custard-like consistency. This will likely take around 15 mins., but just keep stirring frequently!

IMG_20171118_195643000
Curd when it’s done cooking

7. Remove from the heat and whisk to remove any lumps.

8. Ladle into warm dry jars, leaving about a 1/4 to 1/2 inch space. Seal and leave to cool on the counter; then refrigerate.

IMG_20171130_081534555
Mandarin orange curd on buckwheat pancakes!


Banana Nut Muffins (wheat-free)

IMG_20171122_124551380


I recently decided to take a break from wheat which has been challenging, but I’ve done it before for short periods. I don’t plan on giving it up permanently, because so many baked goods that I love are better with it! Anyway, so I’ve started to dabble a bit with wheat-free baking. (I’m not concerned with my food being entirely or strictly gluten-free, so to avoid misleading anyone, I’ll just say the following muffin recipe is wheat-free.)

Last week I made a super-healthy carrot spice muffin that was wheat free, but I was the only one in the family who was willing to eat them after the first try. They relied heavily on almond flour, and were lightly sweetened with honey and raisins, so it wasn’t too surprising that they were a little on the dry and crumbly side. But I kind of appreciated that I could eat one with an egg or yogurt for breakfast, and not feel totally deprived of my baked goods (or, you know, guilty).

So, today I decided to try another wheat-free muffin recipe. We bought some more wheat flour alternatives the other day — buckwheat flour, brown rice flour, etc., so I was curious to see how they perform.

(Yield: 12 muffins)

Ingredients:

  • 5 tablespoons melted butter
  • 3/4 cup sugar
  • 2 eggs
  • 1 1/2 cups very ripe bananas (the riper the better!)
  • 1/3 cup buttermilk
  • 1 teaspoon vanilla extract
  • 3/4 cup millet flour
  • 1/8 cup ground flax seed
  • 1/8 cup almond flour or meal
  • 3/4 cup brown rice flour
  • 1 teaspoon baking soda
  • 1/2 teaspoon salt
  • 1/4 teaspoon baking powder
  • 1/4 teaspoon cinnamon
  • 1/2 cup chopped walnuts or pecans (optional)

Steps:

  1. Preheat the oven to 350 degrees and grease or line your muffin pan.
  2. Whisk the eggs, melted butter, vanilla, sugar, buttermilk, and mashed bananas together in a medium bowl.
  3. In a separate bowl, blend together all of the dry ingredients, including the chopped nuts.
  4. Add the dry ingredients to the wet, and mix just until all the flours are incorporated.
  5. Spoon the batter into the muffin cups and bake for about 25 mins., or until a toothpick inserted in the center comes out clean.

Peach Compote

20170805_111208

It was a great summer for peaches in the Portland area. I kept picking or buying 20 or 30 at a time (or 54!), and wondering how I was going to get through them all, and then before I knew it, they’d be gone!

We enjoyed peach cobbler, peach dutch baby, fresh juicy peaches eaten out of hand, and of course, my favorite way to preserve them is in a peach compote. Peaches go so well with warm spices like cinnamon and cardamom, and their juiciness makes them a great candidate for a saucy compote to spoon over waffles, ice cream, yogurt, and so on.

(Yield: 2 or 3 pint jars)

Ingredients:

  • 3 pounds of peeled peaches
  • 1 – 2 cups of brown sugar
  • 2 teaspoons cinnamon
  • 1 teaspoon ground cardamom
  • 1/4 teaspoon nutmeg

20170805_113030

Steps:

  1. Slice the peeled peaches into eighths and then halve or third each slice, so that you have roughly one inch chunks. Add the peaches to a heavy-bottomed large pot, along with the sugar and spices. You can adjust the sugar according to taste.
  2. Bring the peaches to a simmer over medium heat and stir occasionally. Continue cooking until the juices start to thicken somewhat, but don’t let it cook so long that it becomes jam! Total cooking time will be between 20 and 30 mins.
  3. While the peaches are cooking, bring a large pot of water to a boil, and wash your jars, lids, and rings.
  4. Spoon the fruit into the washed jars leaving about a 1/4 inch of headspace. Then attach lids and rings and place filled jars into pot of boiling water. Make sure tops of jars are covered by water.
  5. Process the jars for 5 mins. and remove from the pot and cool on a rack.


20170806_101445


Lemon Zucchini Cake


20171019_202719
Zucchini Lemon Cake with Raspberry Curd

I harvested what I suspect will be the last mini-zucchinis from our garden last week (small cry). After enjoying this lemon zucchini cake for the first time a few months back, I really wanted to make it again. Note that it’s called cake, rather than bread, and that’s because the texture is so light and moist and lovely! I slightly adapted this recipe from Becca’s Vegetarian Blog and decided to write it up so I won’t forget it, and so I don’t have to weigh the ingredients next time. 😉

Ingredients:

  • 1 1/2 cups grated zucchini
  • 3/4 cup sugar
  • 1 egg
  • 3/4 cup vegetable oil
  • zest from 2 lemons, plus juice of one lemon
  • 1 teaspoon cinnamon
  • 1 1/3 cups all purpose flour
  • 1/4 teaspoon salt
  • 1/2 teaspoon baking soda
  • 1/4 teaspoon baking powder

20171019_172933
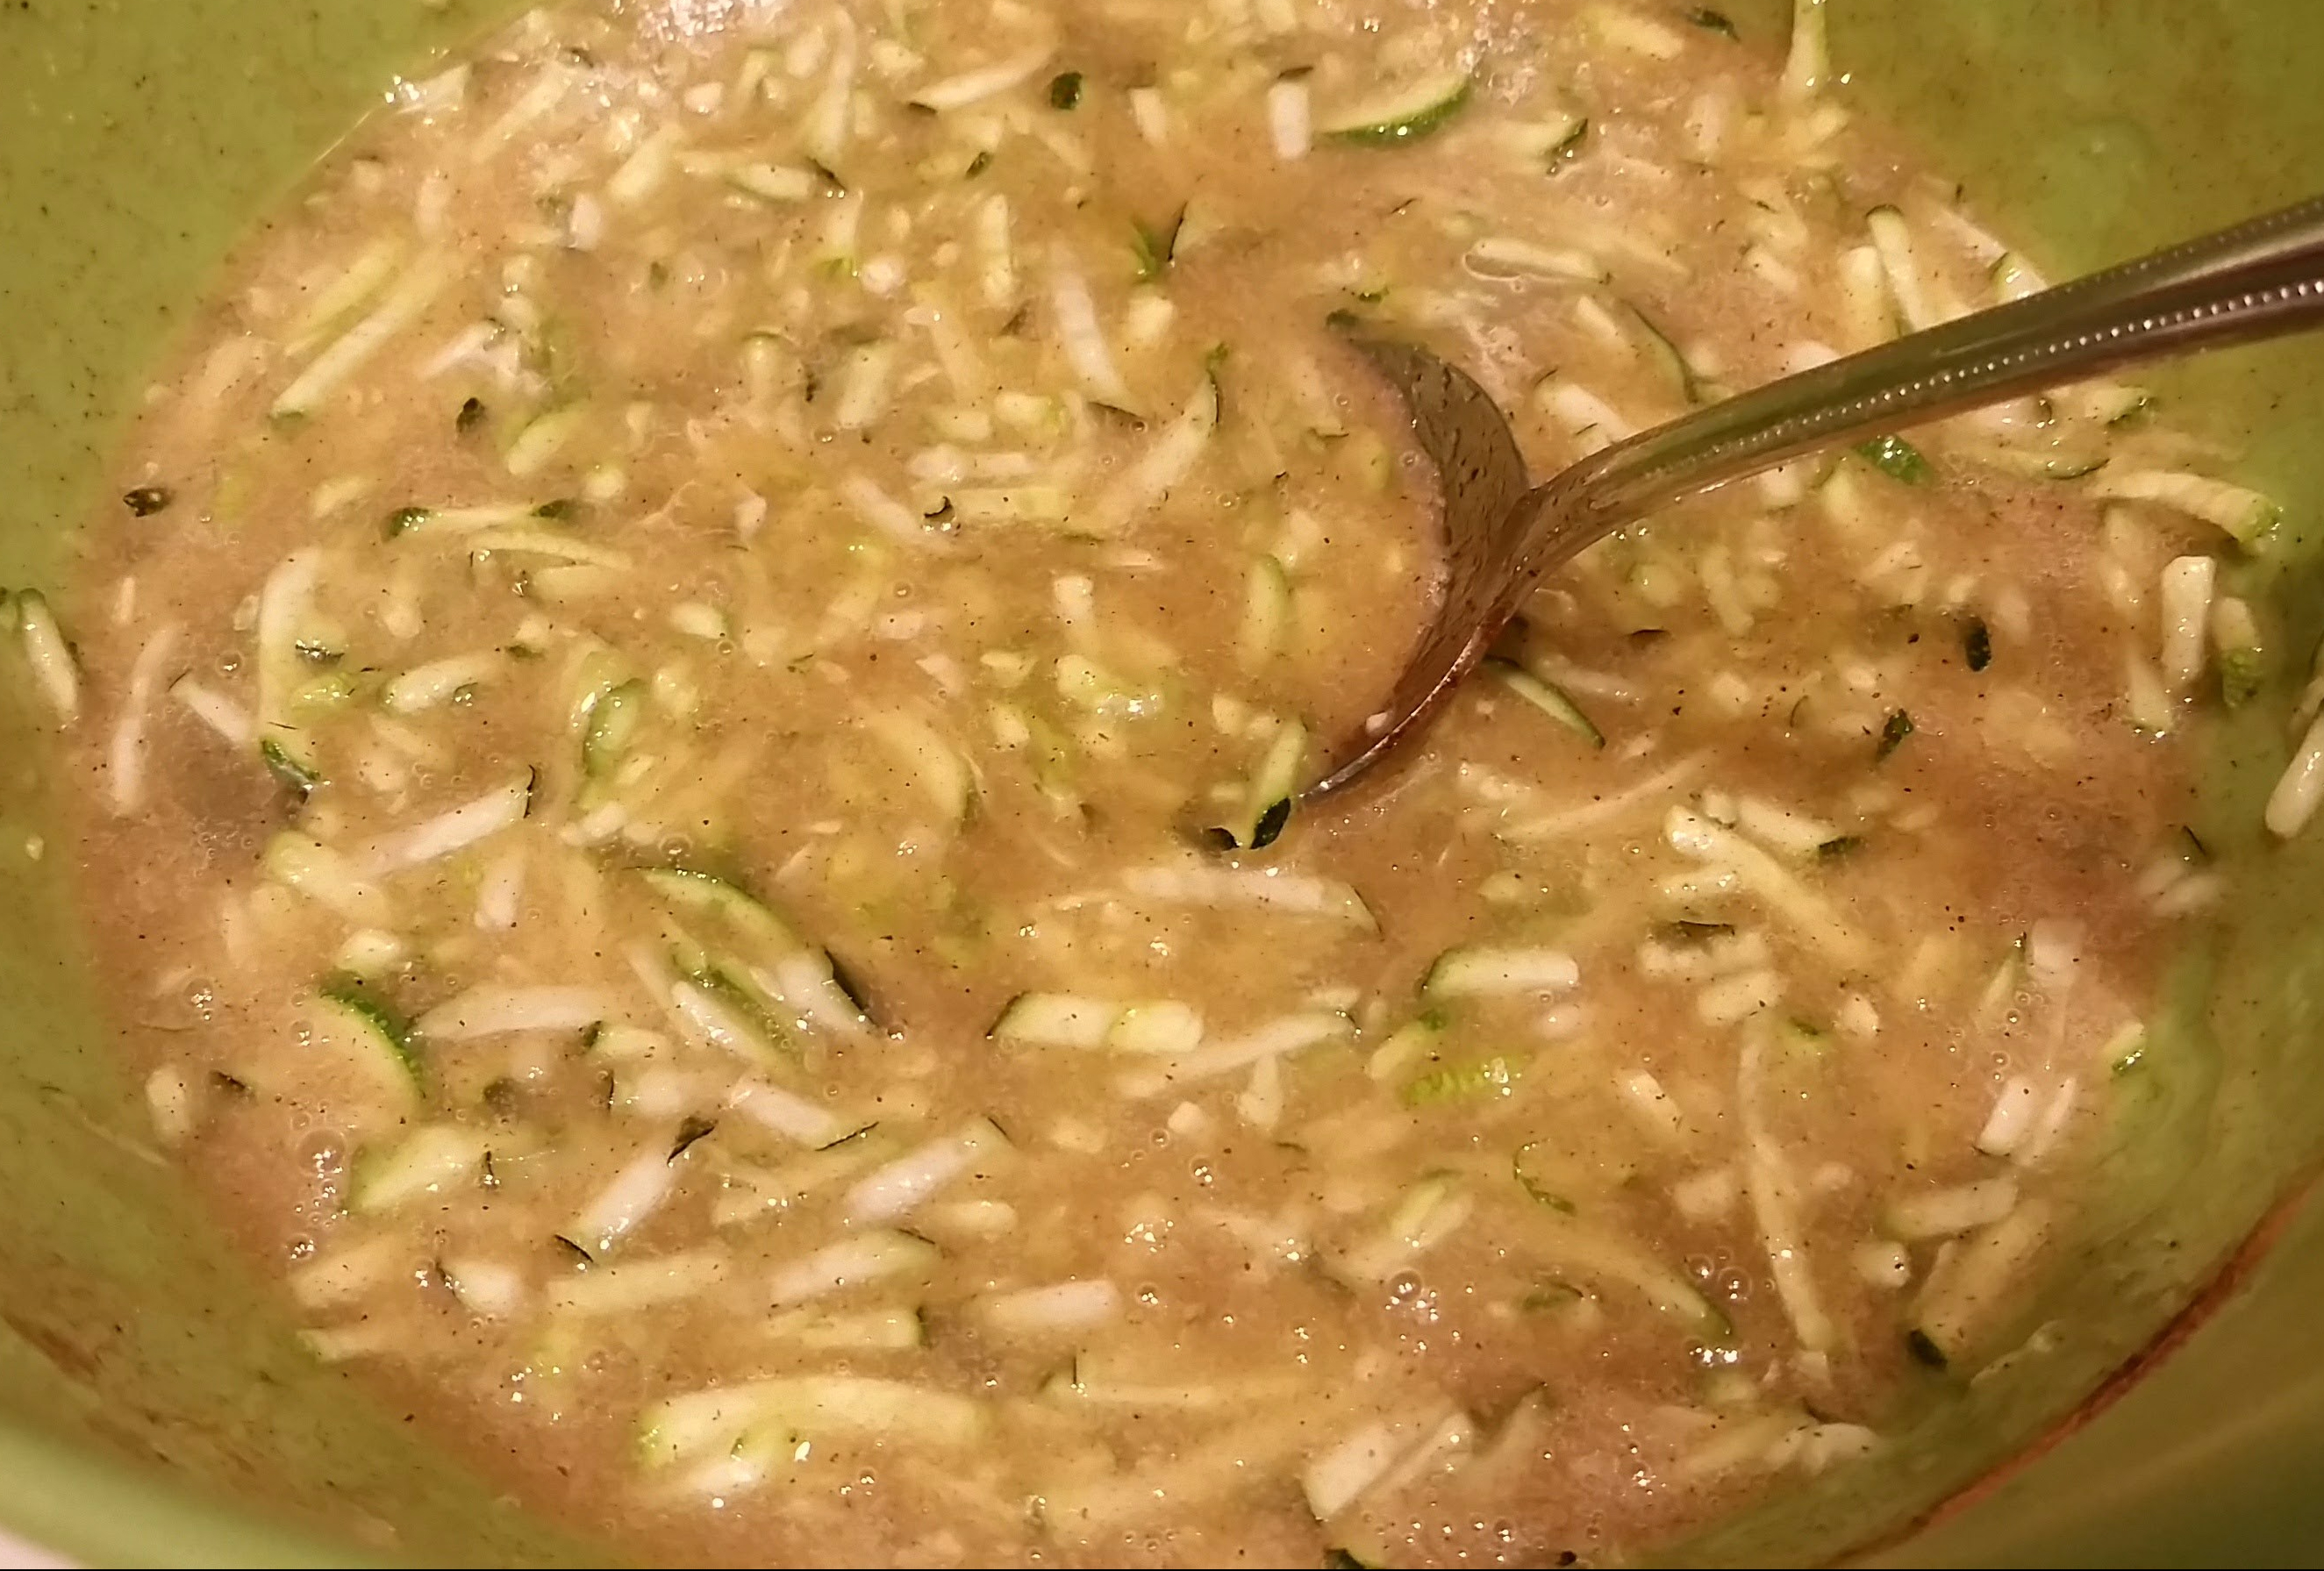
Wet ingredients

Steps:

  1. Preheat your oven to 320 degrees and grease a 9 x 5 inch loaf pan.
  2. In a medium bowl, mix the zucchini, oil, egg, sugar, lemon zest and juice with a large spoon.
  3. In a small bowl, whisk the dry ingredients together. Add the dry ingredients to the wet and stir gently until the flour is integrated.
  4. Pour batter into the loaf pan and bake for 55 – 60 mins. until a toothpick inserted in the center comes out clean.

20171019_190211