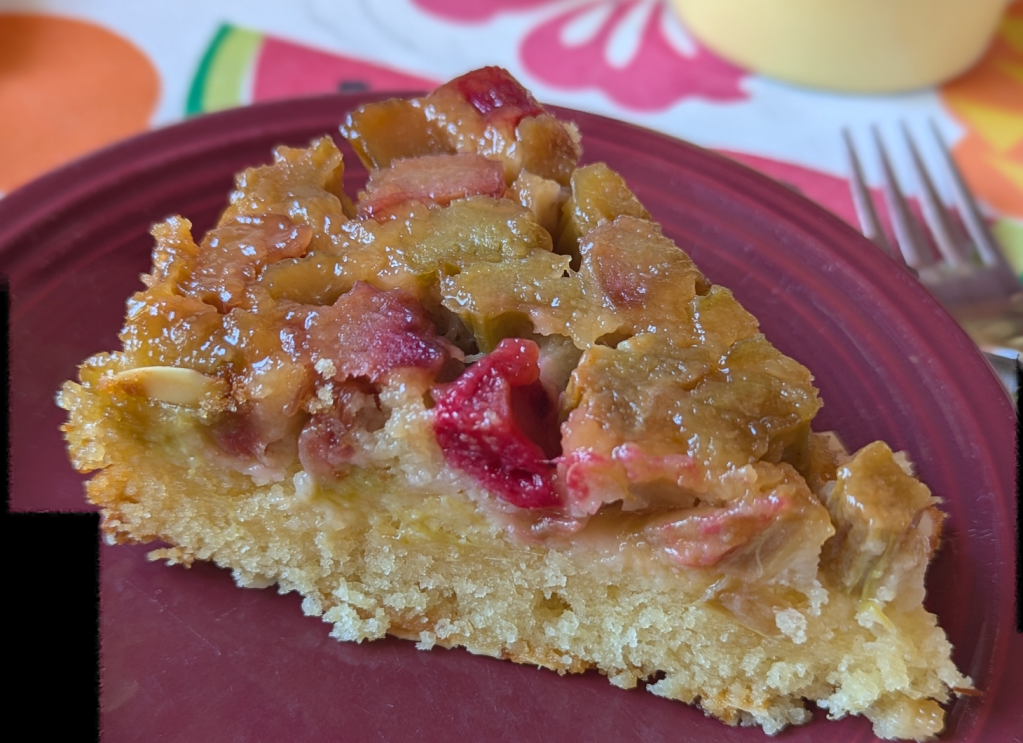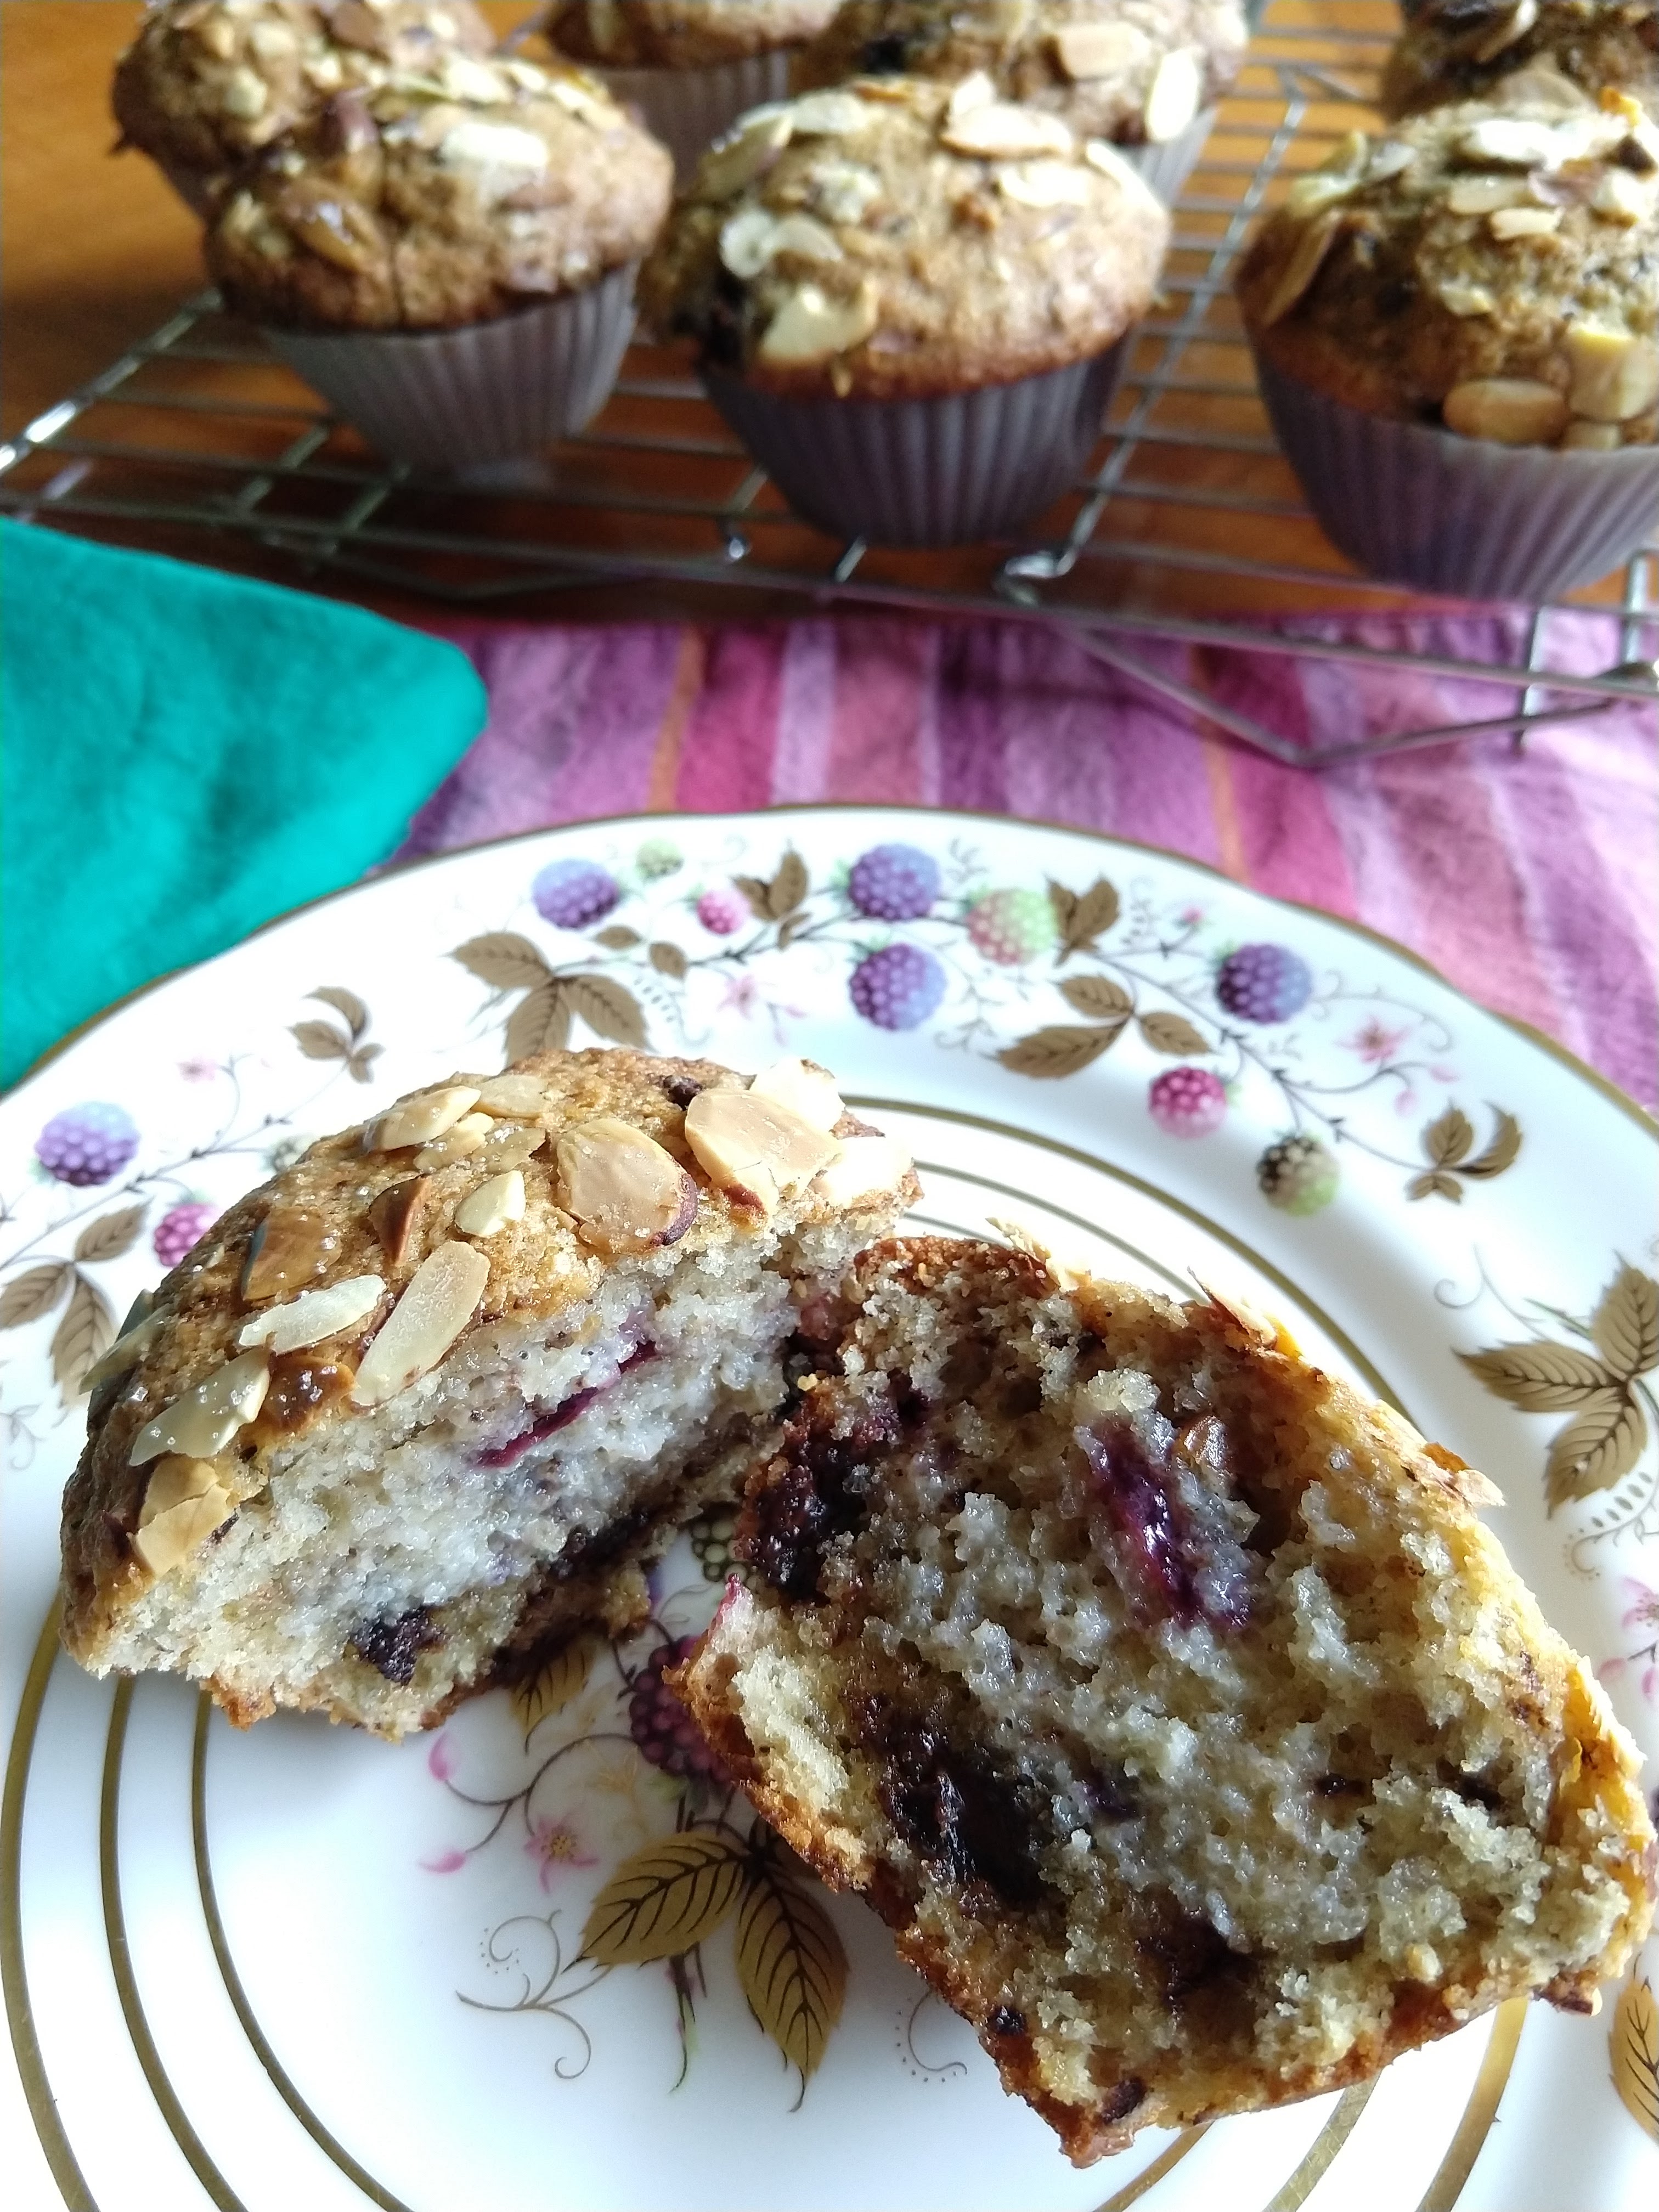
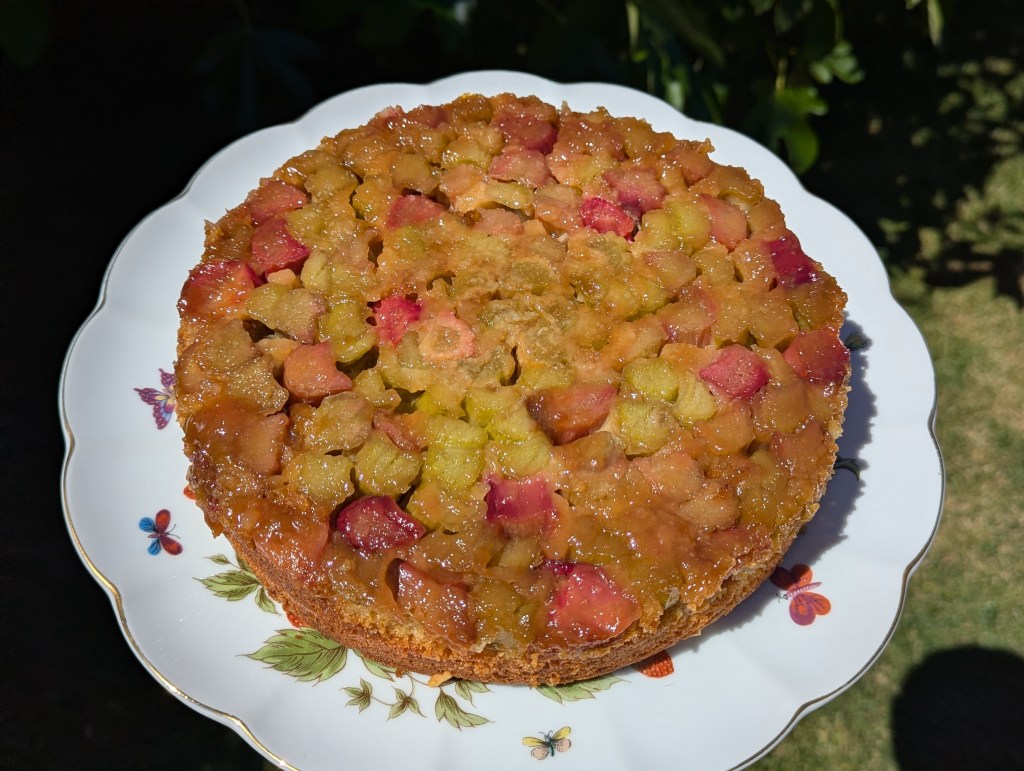
I made this cake today for a brunch and it was delicious! From the first bite (“mmmm”) to the last (“it’s like tasting a love letter”), rhubarb’s natural tartness is rounded out by the creamy and aromatic almonds. Maybe you’re thinking, but you’ve only made this once? I’ve actually made a similar scrumptious Martha Stewart cake a few times, but I think this one wins in terms of being a bit less fussy and a wee healthier. (The top of Martha’s, which then becomes the bottom when you serve it, is a streusel crumb. Mine is a thin layer of almond slices which provide a delightful crunch. See how I won?)
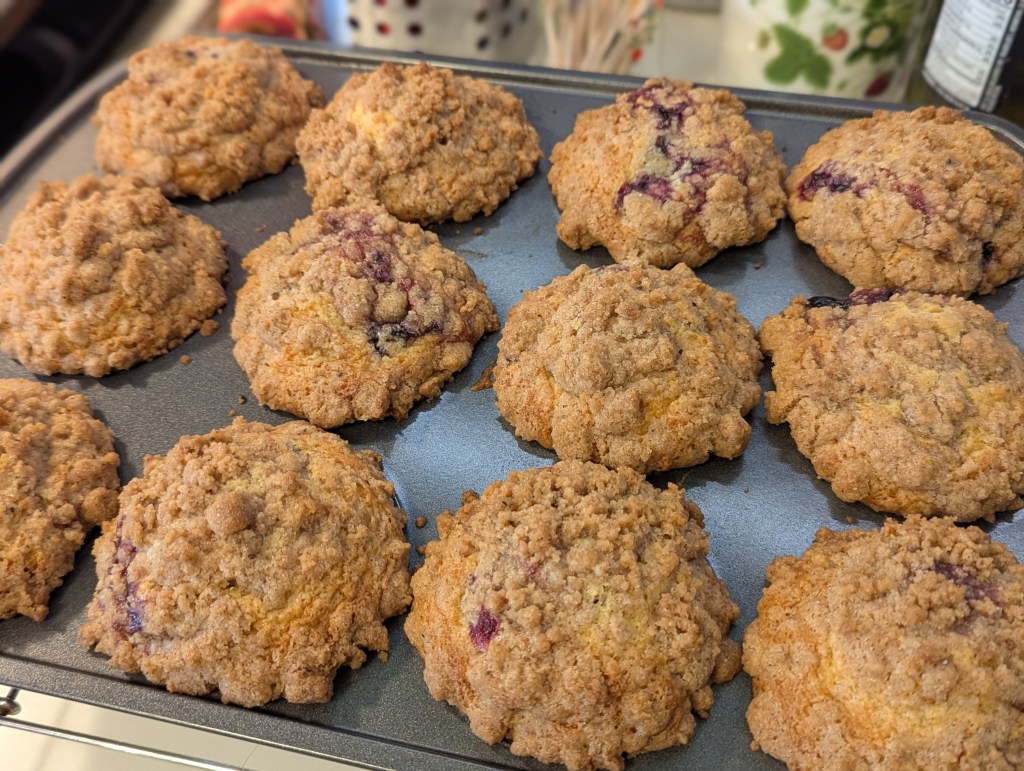
The recipe I riffed on today originally did not contain any almonds, almond extract, almond paste, or almond flour, so you could just skip some or all of that if you don’t love almonds, or if you don’t keep four to six forms of almonds in the house at all times like me. But in my opinion, rhubarb and almond are a winning combo. Every spring I look forward to making an almond rhubarb coffee cake that’s even simpler, and almond rhubarb streusel muffins as well. (Definitely need to write those up one of these days.)
Makes one 9-inch cake and serves at least 8.
Ingredients:
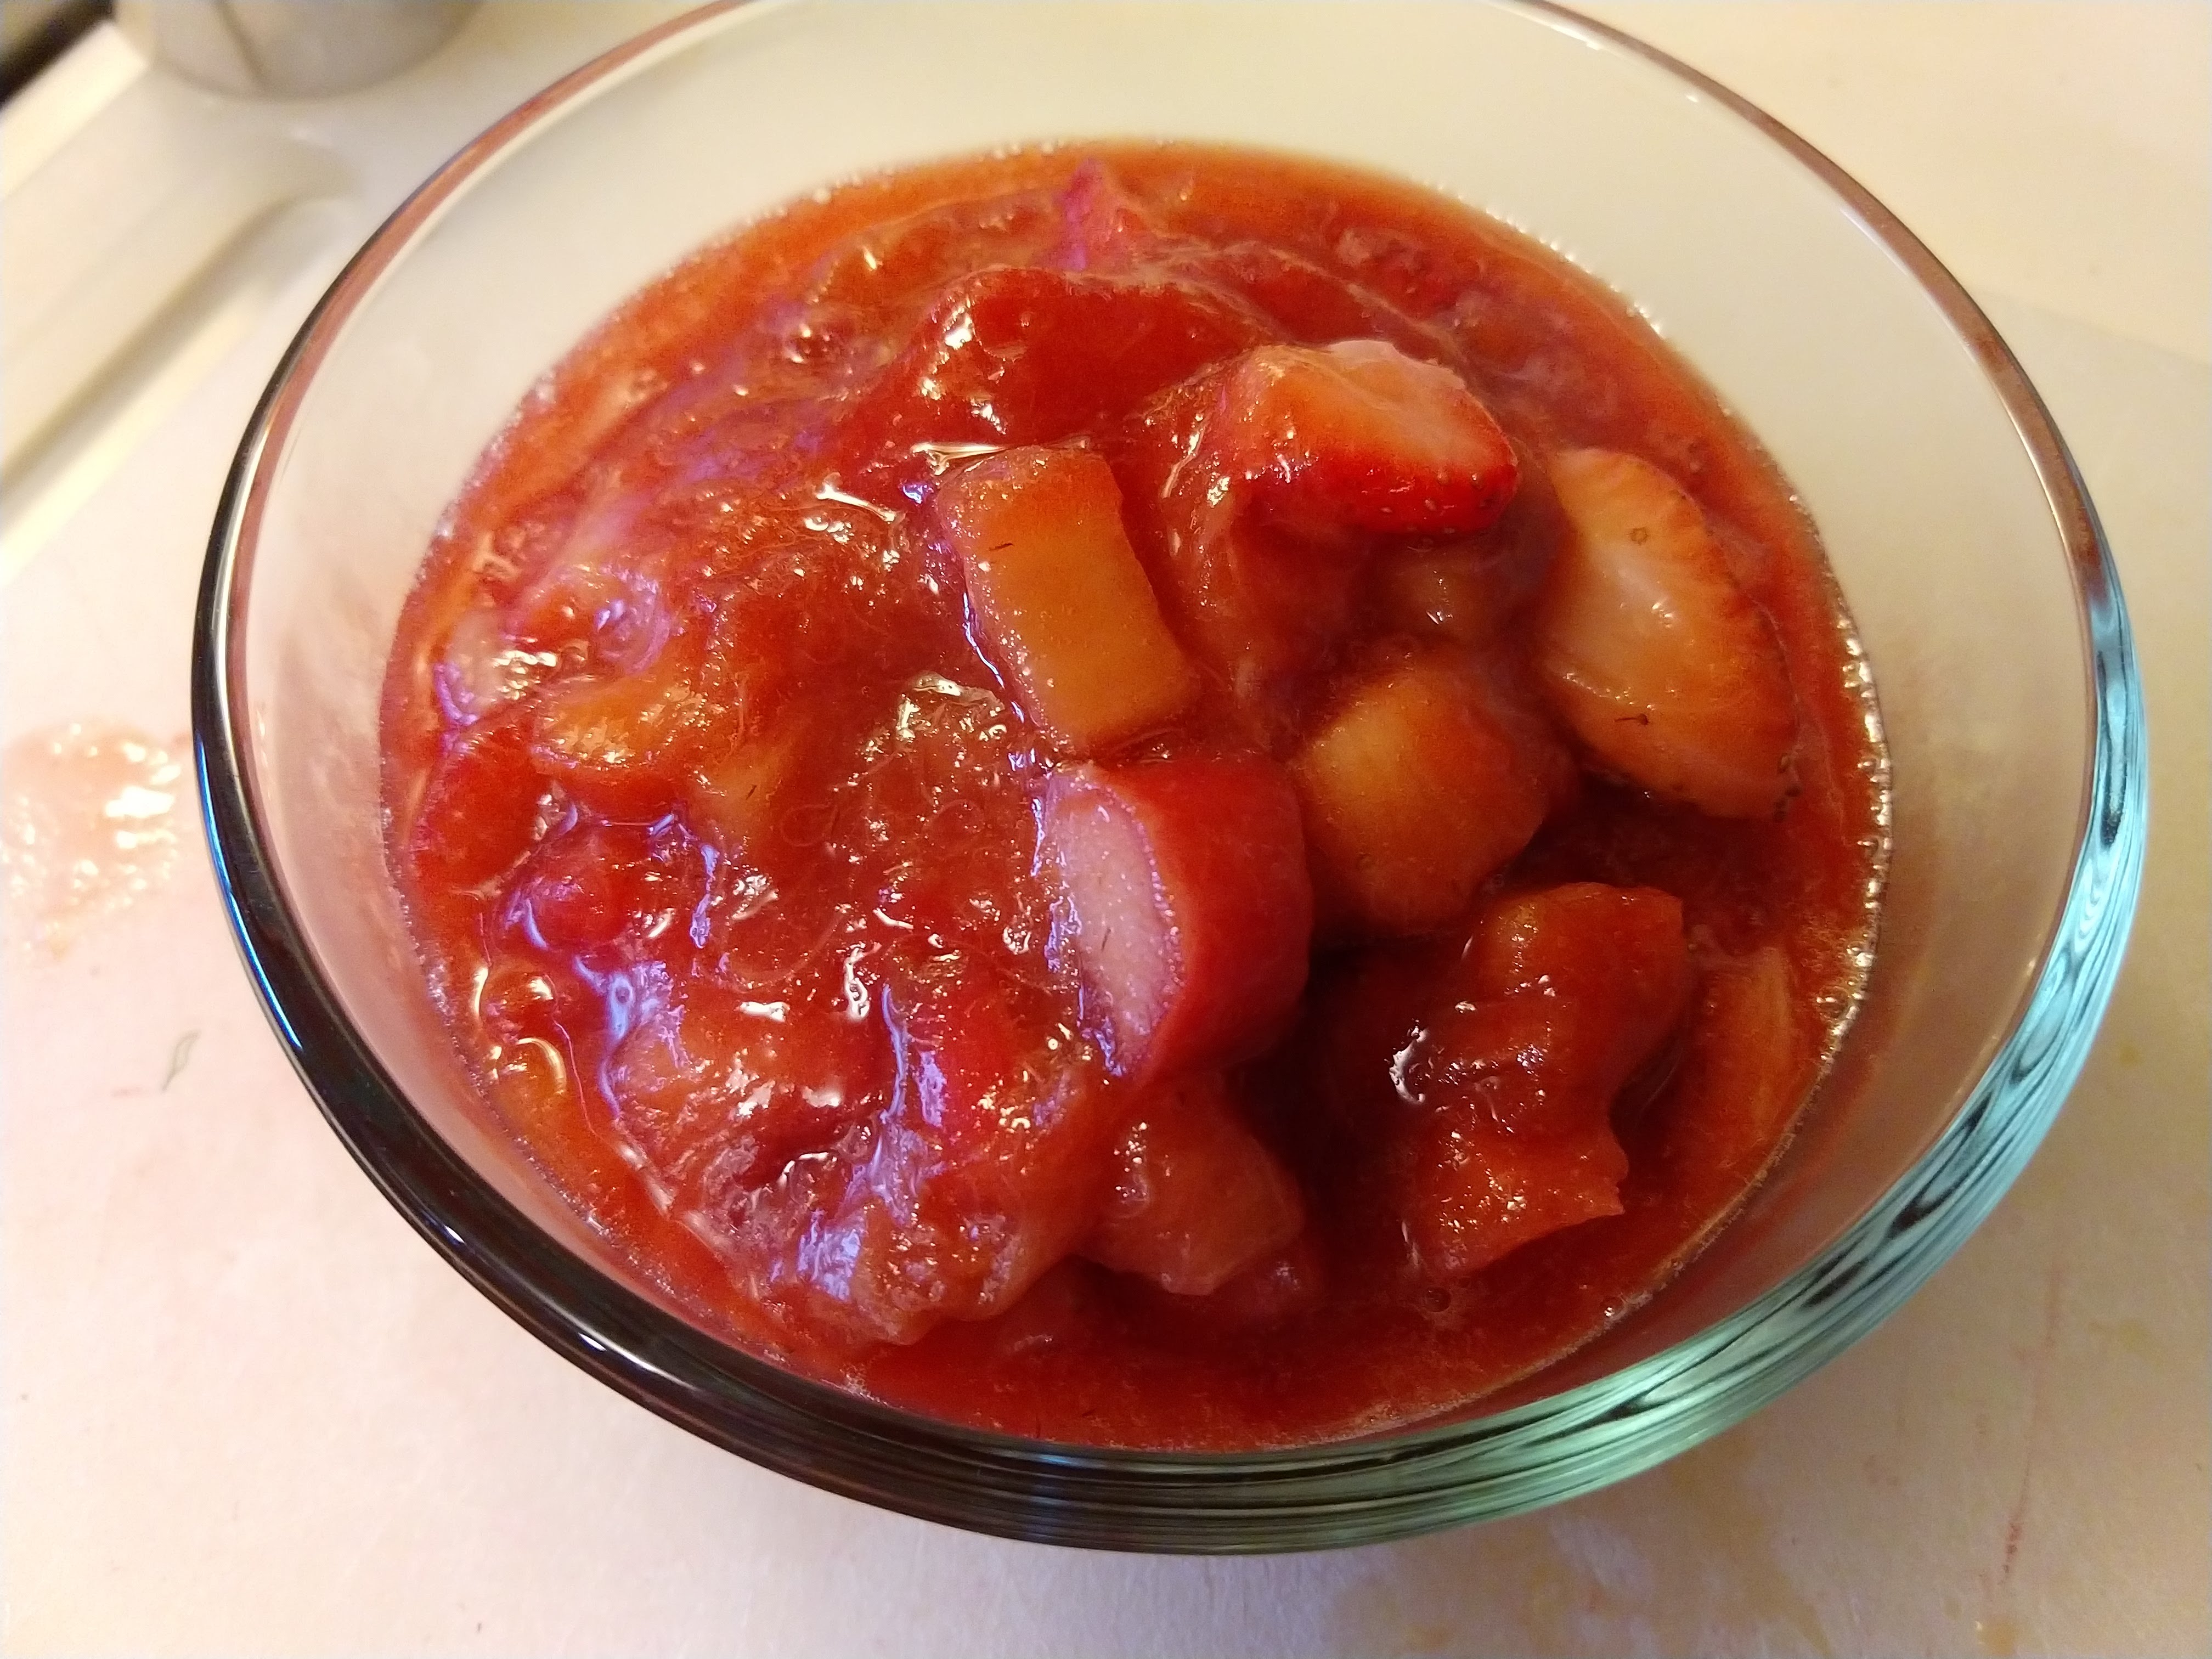
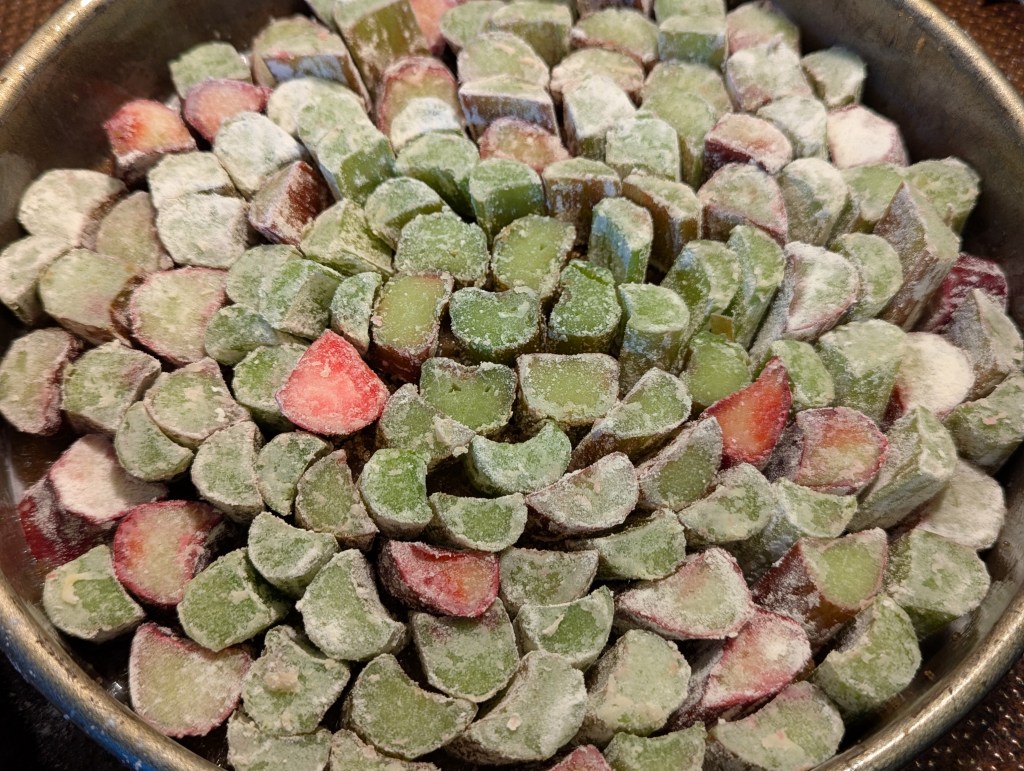
- 4 cups fresh or frozen rhubarb chopped into 1/2 inch pieces
- 1 1/2 tablespoons all purpose flour
- 1/4 cup melted butter
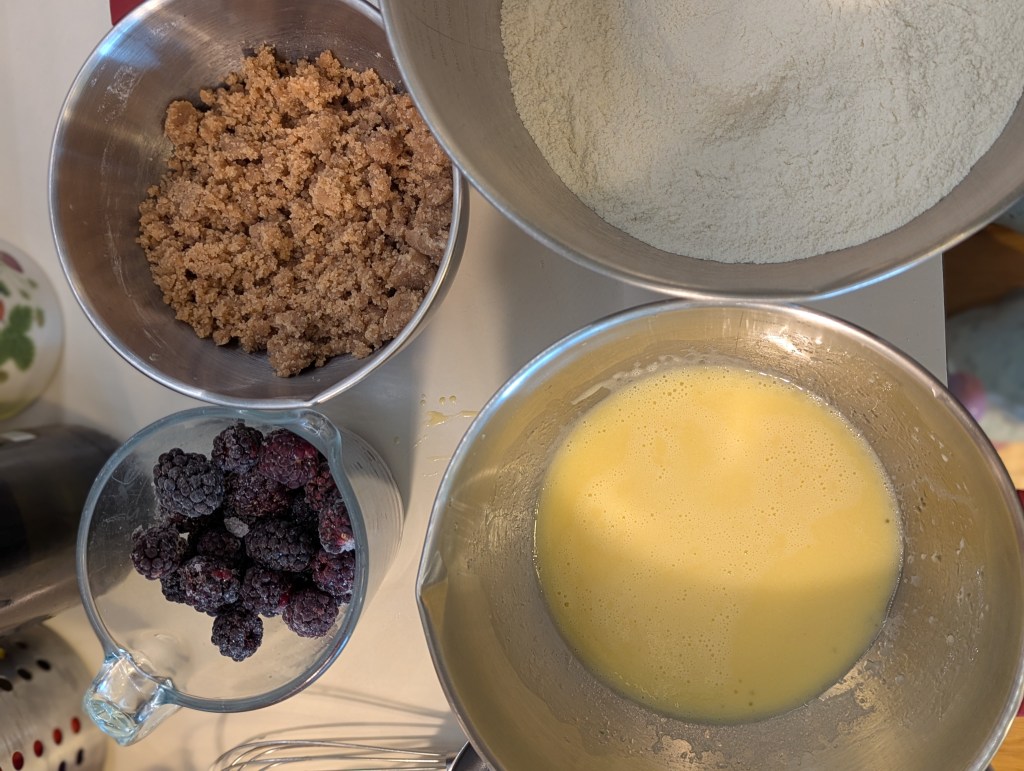
- 1/2 cup brown sugar
Batter
- 3/4 cup white sugar
- 1/4 cup melted butter
- 1 egg
- 1 tablespoon lemon juice
- 1 cup all purpose flour
- 1/2 cup almond flour (or replace with ap flour)
- 2 teaspoons baking powder
- pinch of salt
- 2/3 cup milk
- 4 oz. grated almond paste (not marzipan!)
- 1 teaspoon almond extract
- 1/2 cup almond slices

Instructions:
- Preheat oven to 350*.
- Spray bottom and sides of 9-inch cake pan. Cut parchment paper to fit and line the bottom of the pan. (This really helps ensure your cake comes out cleanly when it’s time to flip it upside down!)
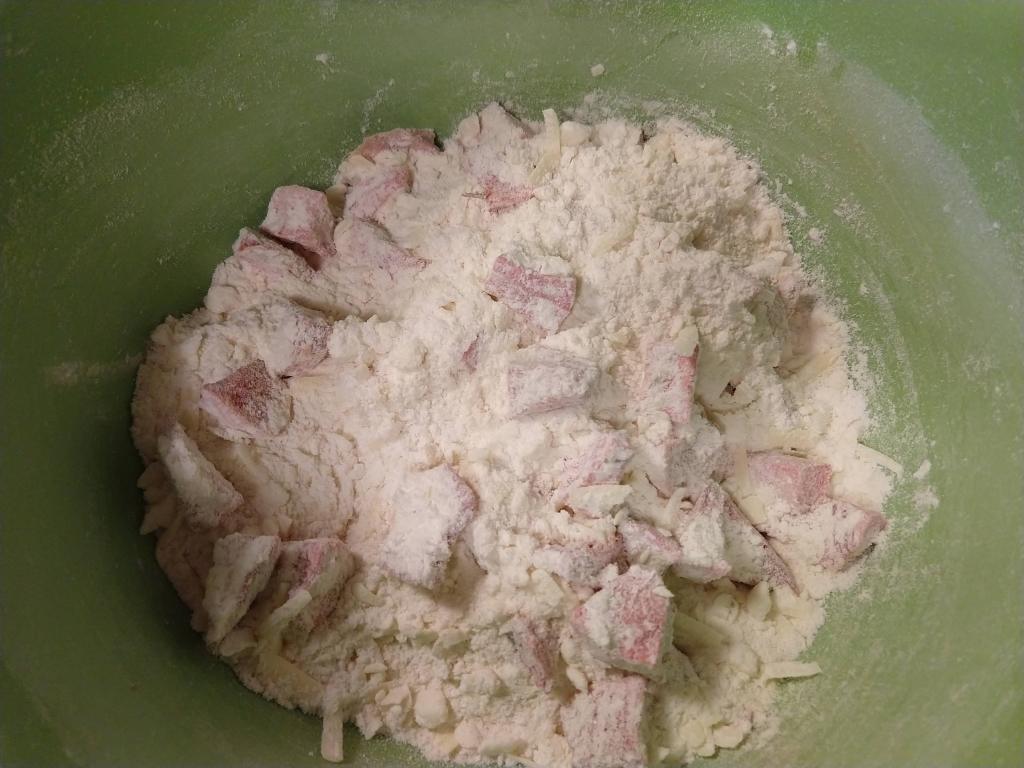
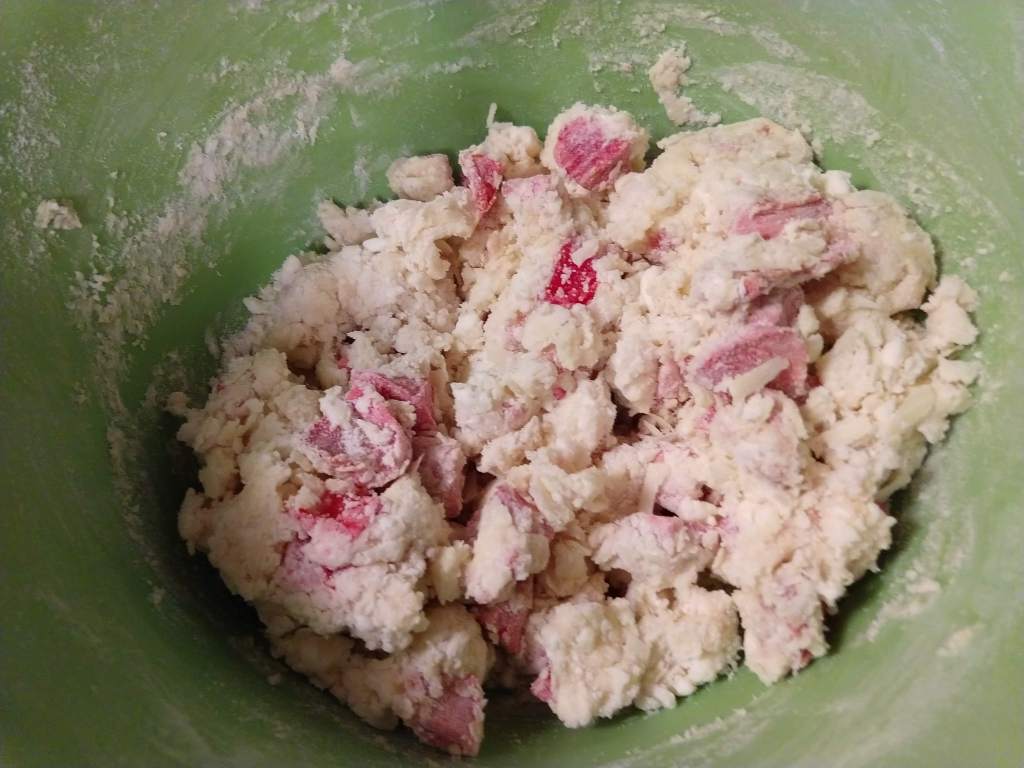
- Toss chopped rhubarb in 1 1/2 tbsp flour in a small bowl.
- Pour 1/4 cup melted butter into cake pan. Top with brown sugar in an even layer. Arrange the rhubarb pieces on top of the sugar. Set aside. (You could just toss the rhubarb into the pan, but I decided to carefully place each one upright which was a little tedious!)
Batter:
- Combine sugar and melted butter. Stir in egg, almond extract, and lemon juice.
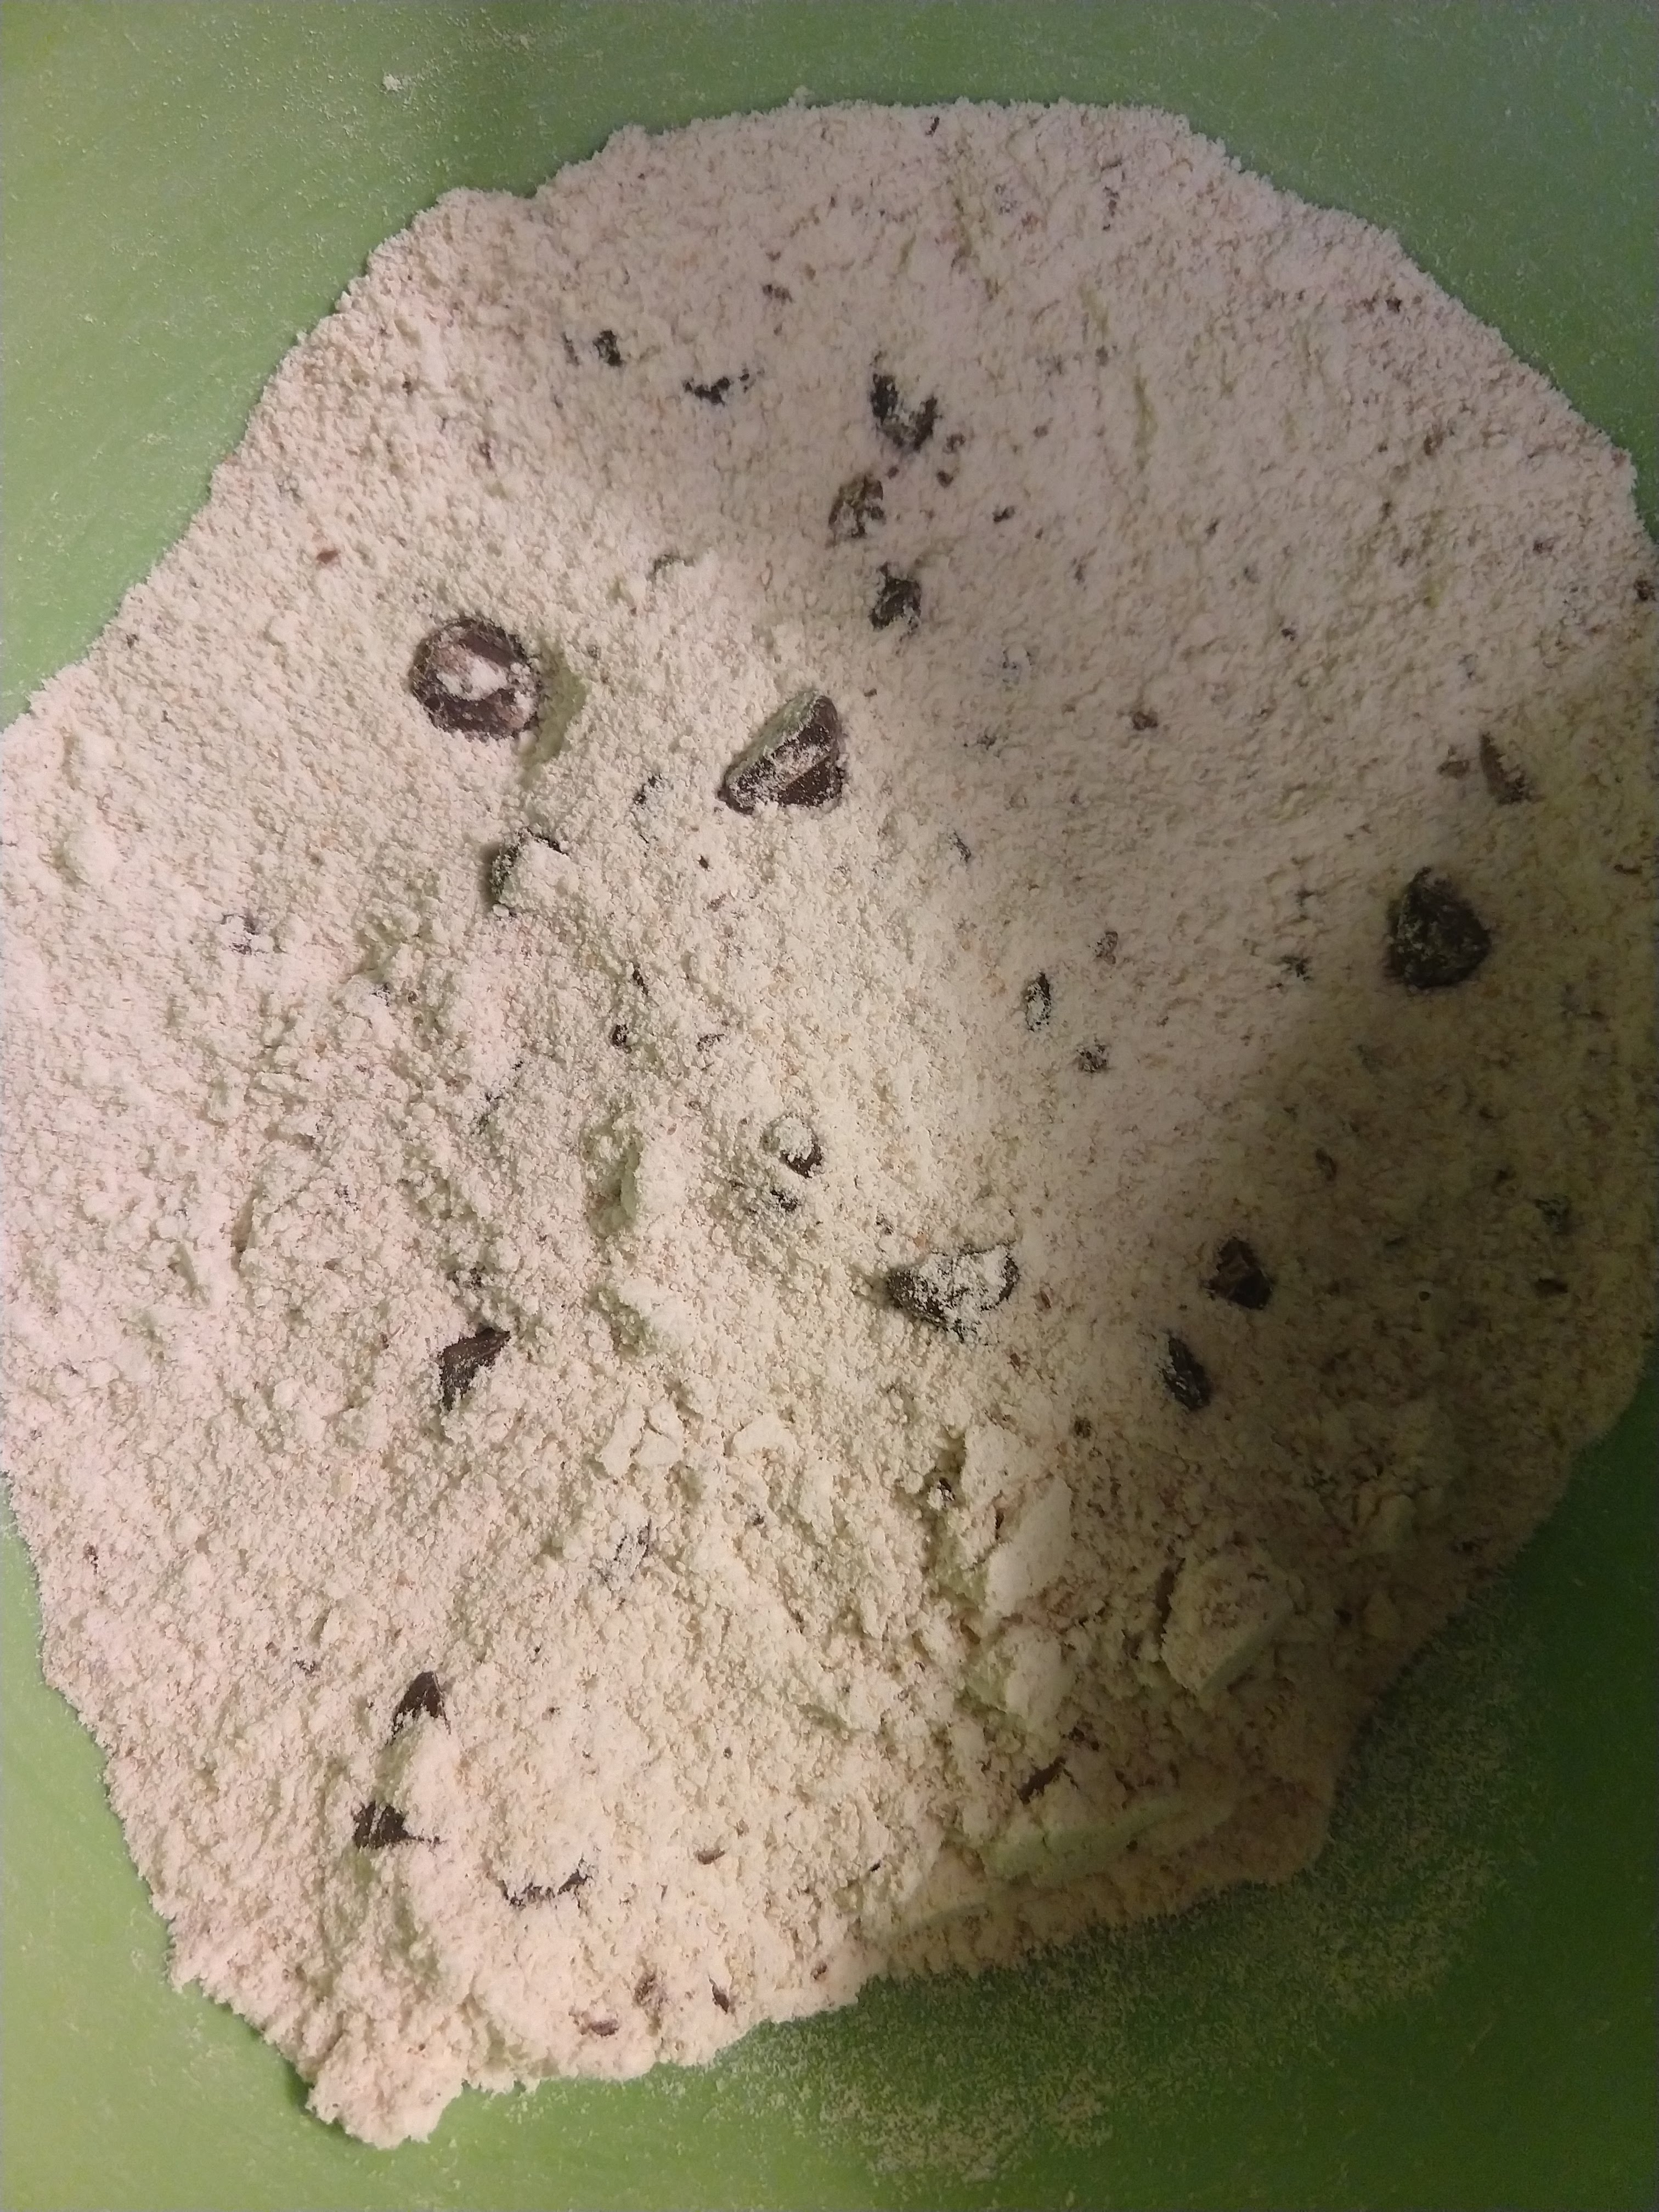
- In a small bowl, combine flours, baking powder, and pinch of salt.
- Grate almond paste and gently toss with flour mixture.
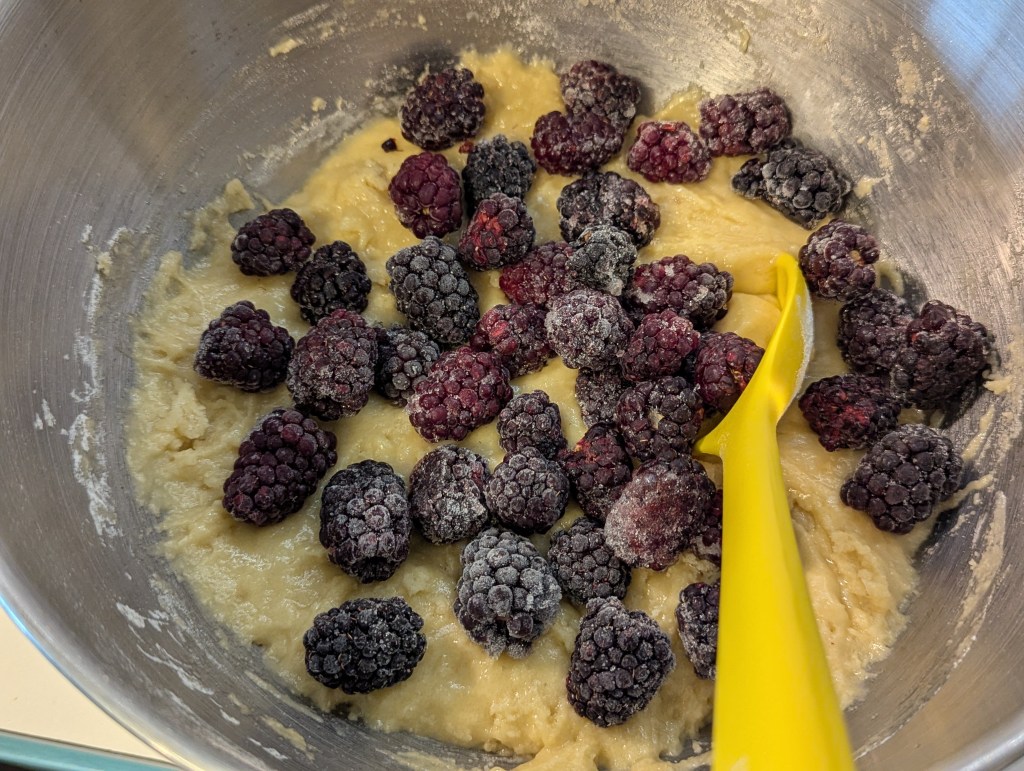
- Add flour mixture alternately with the milk to the butter mixture. Stir just until combined.
- Spread the batter over the rhubarb mixture and top with the almond slices.
- Bake 35 – 40 minutes or just until a toothpick comes out clean.
- Remove from the oven and let cool for at least 30 mins. (I let it cool 1 hour and it came out of the pan perfectly and was still lightly warm when serving.)
- Run a knife along the edge of the cake and invert onto a platter. Serve and enjoy!