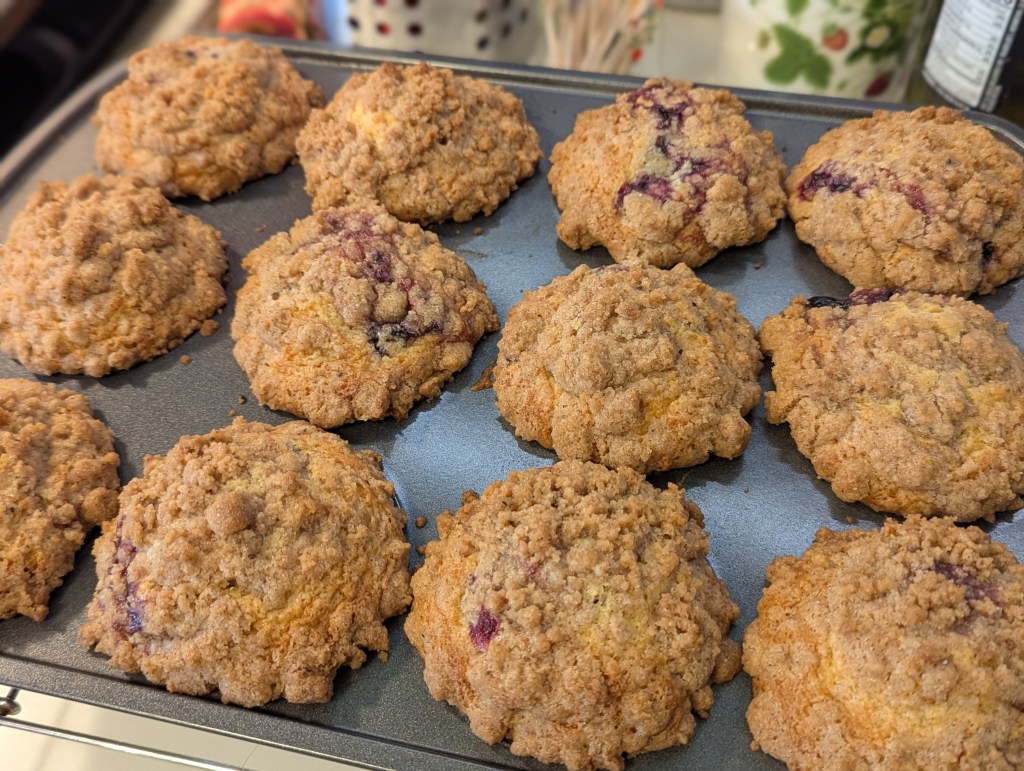
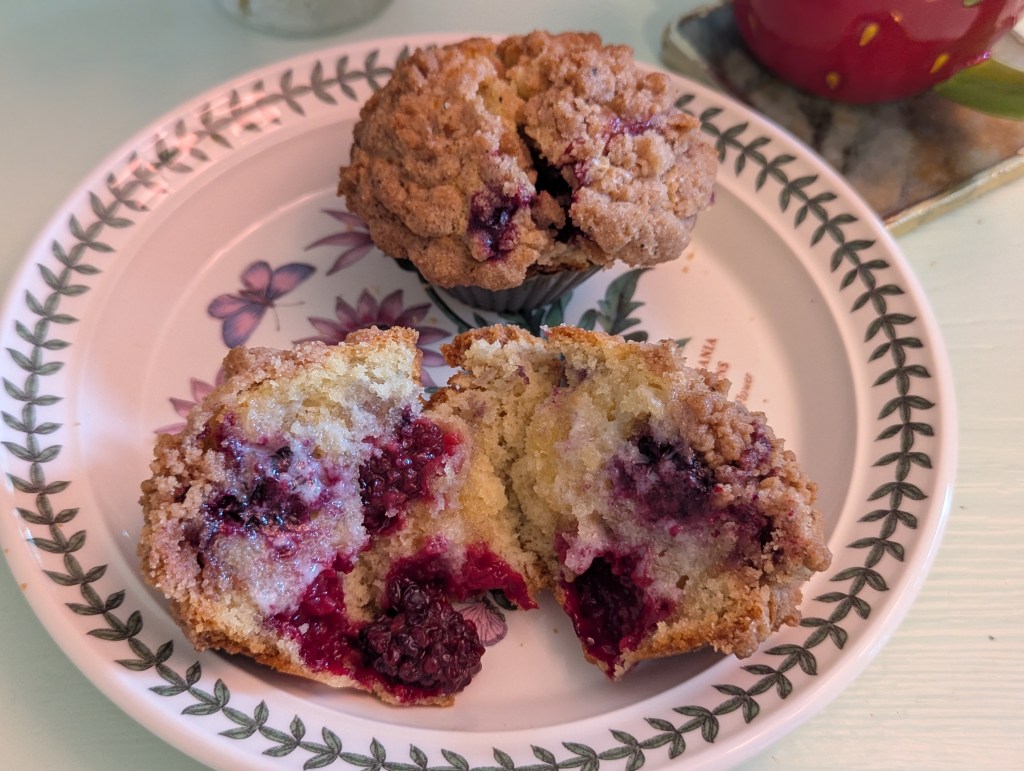
I first made these muffins 5 or 6 years ago, and at the time I declared them very dessert-like. I didn’t make any modifications to the recipe today, although you could swap in some almond flour or whole wheat flour if you want to make them a bit healthier. But today, I said let’s indulge and make cake-y muffins for breakfast. I’m adding them here because I wasn’t sure if I still remembered the source of the recipe. (This is a fear I live with daily. That and a desire to document my favorite recipes for my daughter are what’s brought me back here after so many years.)
Yield: 14 – 16 muffins
Ingredients:
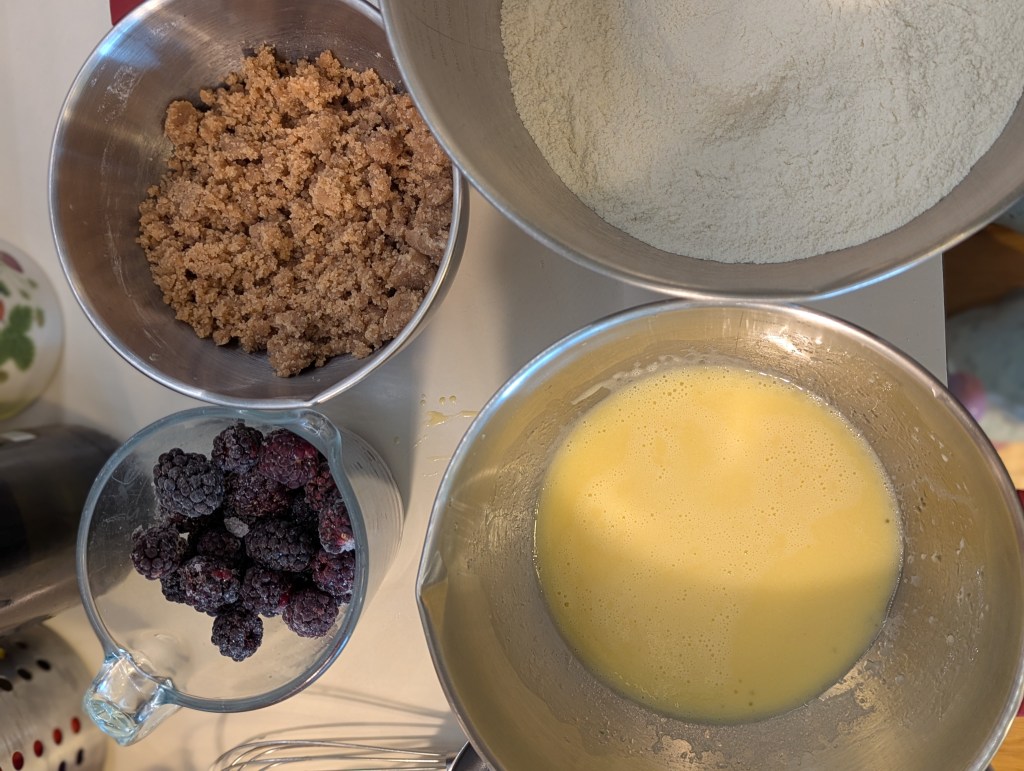
2 1/4 cups all purpose flour
1 cup plus 2 tablespoons sugar
3/4 teaspoon salt
3 tsp baking powder
1/2 cup vegetable oil
1 egg plus 1 egg yolk (or just a small egg if you have it!)
1 1/2 teaspoon vanilla extract
1 teaspoon almond extract
1/2 cup milk
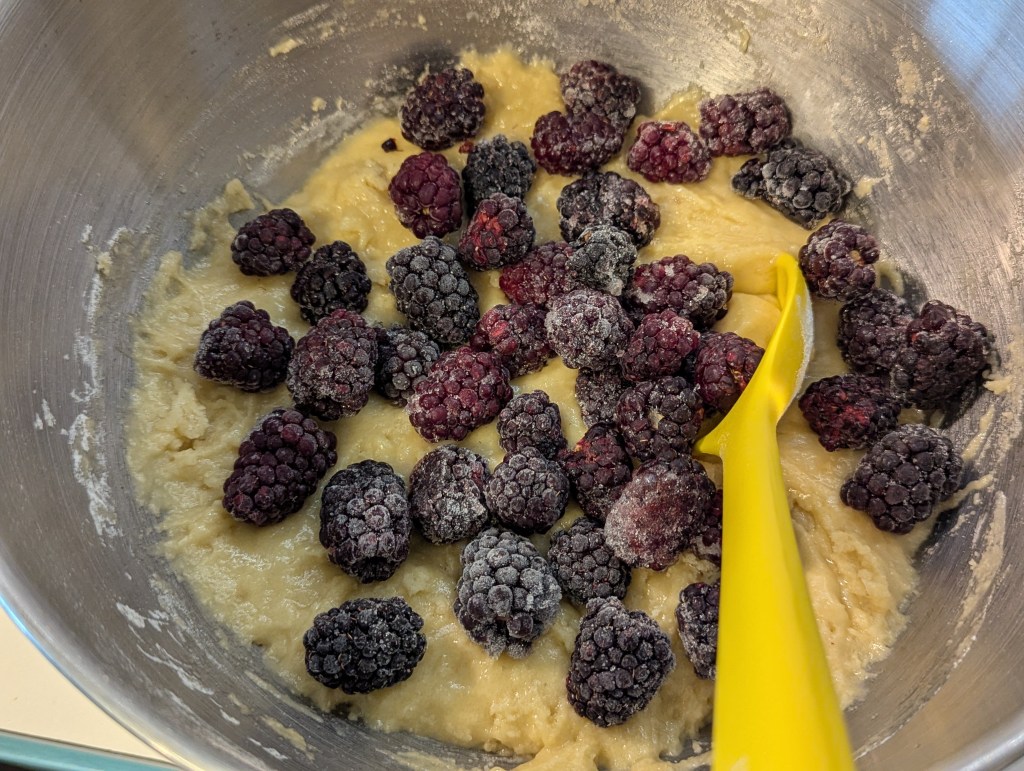
1 1/2 cups frozen blackberries
Crumb Topping:
3/4 cup sugar
1/2 cup all purpose flour
6 tablespoons melted butter
1 1/2 teaspoons cinnamon
3/4 teaspoon cardamom
Notes: If you don’t have almond extract and/or cardamom, you can increase the cinnamon and vanilla extract to match the quantities above. Fresh blackberries work too, but careful not to mash them into the batter or they will stain the batter gray.
Directions:
Preheat the oven to 400* and grease or line your muffin pan. (I like silicone cups since they are reusable, or paper liners that you can compost.)
Make crumb topping: in a small bowl mix together sugar, flour, melted butter, cinnamon and cardamom until coarse crumbs form. Set aside.
In a medium bowl, whisk egg, milk, oil, vanilla and almond extracts.
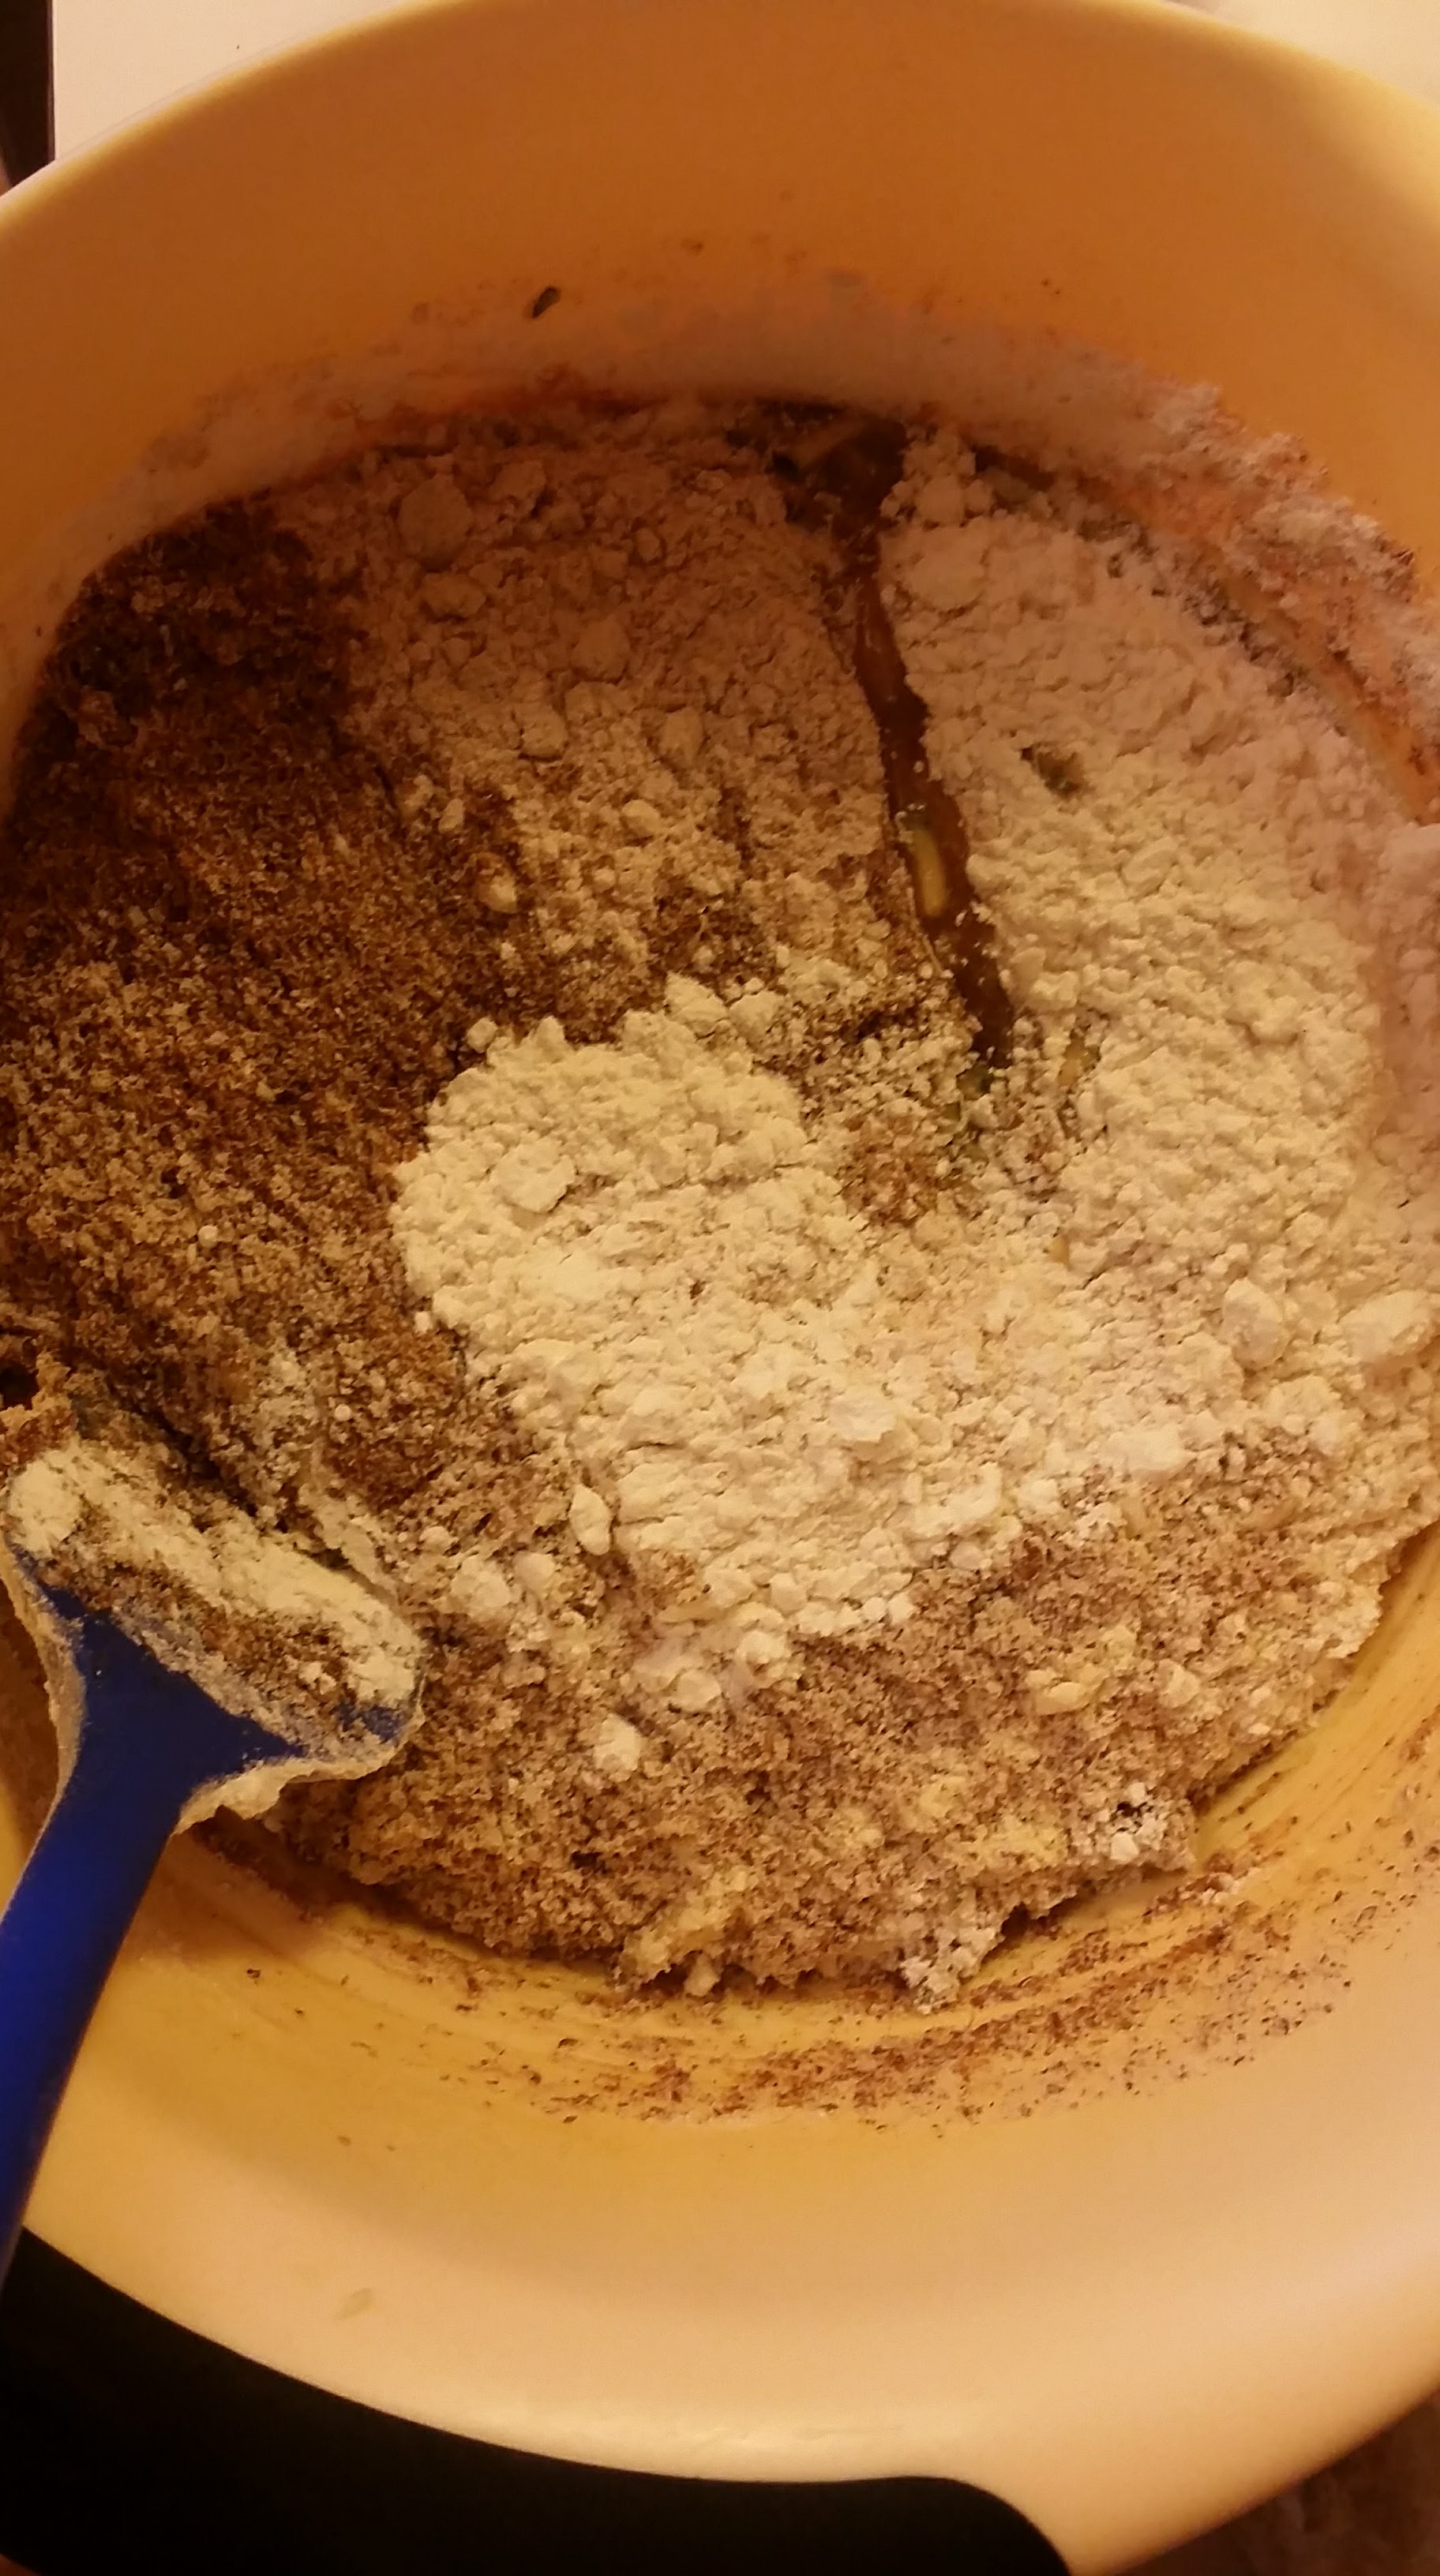
In a large bowl, whisk flour, sugar, salt and baking powder.
Stir liquids into flour mixture until just combined. Then fold in blackberries gently.
Scoop batter into muffin pan and then top with crumb mixture.
Bake for 20 – 25 minutes until a toothpick inserted in the center of a muffin comes out clean. Cool in muffin pan for several minutes before serving.
Allow to cool completely and then seal in an airtight container for up to 4 days, or freeze for another day.
Pear and almond scones with sides of clotted cream and pear butter
These are the best scones I’ve ever made. Pears and almonds were clearly meant for each other. I offered clotted cream and pear butter on the side with these this morning, since I had some of both, but that just turns them into straight up dessert. The only accompaniment they really need is a hot mug of your favorite tea.
The first time I whipped these up was just a month or so ago, but it’s pear season and I keep picking or buying them from farms and patiently waiting for them to ripen. Pears are unusual in that they don’t ripen on the tree, but only after picking. This works out well because so many other fruits that I like to pick demand to be dealt with as soon as I get them home. For this recipe, try to use moderately ripe but still somewhat firm pears. If they’re super ripe, they’ll become mushy when you roast them.
After making this recipe a few times, I feel confident that I’m recommending the right amount of liquid to bring the dough together. But I’ll also share with you a tip for scone making that I learned from the Cheeseboard Cooperative’s cookbook. They suggest having a little extra cream and/or buttermilk on hand, and gradually adding it if the dough isn’t coming together and there’s still lots of dry flour in the bowl. I’ve definitely made some scone recipes where an extra tablespoon was required, and then there were even ones where I was sure the recipe was off by a 1/4 cup of liquid. It’s not just you… it’s that the air is more or less humid that day, your flour is retaining more or less moisture, etc.
A few special notes:
I highly recommend getting a pastry cutter for integrating cold butter into flour. I’ve tried a few kinds and the wire type pictured below works best. I use it for scones, as well as pastry/pie crusts.
I had a hard time finding almond paste recently (not marzipan, which has more sugar, and is used for candy making), so I ordered several 8 oz. boxes of it from Amazon recently. Zero regrets. 😉
Ingredients:
3 pears or about 1 pound of ripe but somewhat firm pears
1 1/2 cups of all purpose flour
4 oz. of almond paste, cut into little squares or grated
1/4 cup sugar, plus 1/2 tablespoon for sprinkling
2 eggs (1 for the dough and 1 for brushing the scone tops)
1 1/2 teaspoons baking powder
1/2 teaspoon salt, plus extra for the egg wash
(optional) 1 teaspoon almond extract
6 tablespoons cold unsalted butter cut into small chunks (refrigerator cold, not frozen)
(scant) 1/2 cup heavy cream
sliced almonds
Pear and almond scone batter before pressing and cutting
Steps:
Preheat the oven to 375 degrees and line a baking pan with parchment paper.
Peel, core, and cut the pear into roughly 1-inch chunks. Spread the pears onto the baking sheet and roast for about 20 mins. They should be lightly browned and dry on the surfaces when done. (My pears were less ripe and in bigger pieces than the first time I made these, so they took more like 35 mins. to roast. But the scones turned out oh-so-good with perfect caramelized chunks of pear.)
Whisk the flour, 1/4 cup of sugar, baking powder, and salt together in a medium bowl. (You could tackle these first three steps the night before to save time the morning of.)
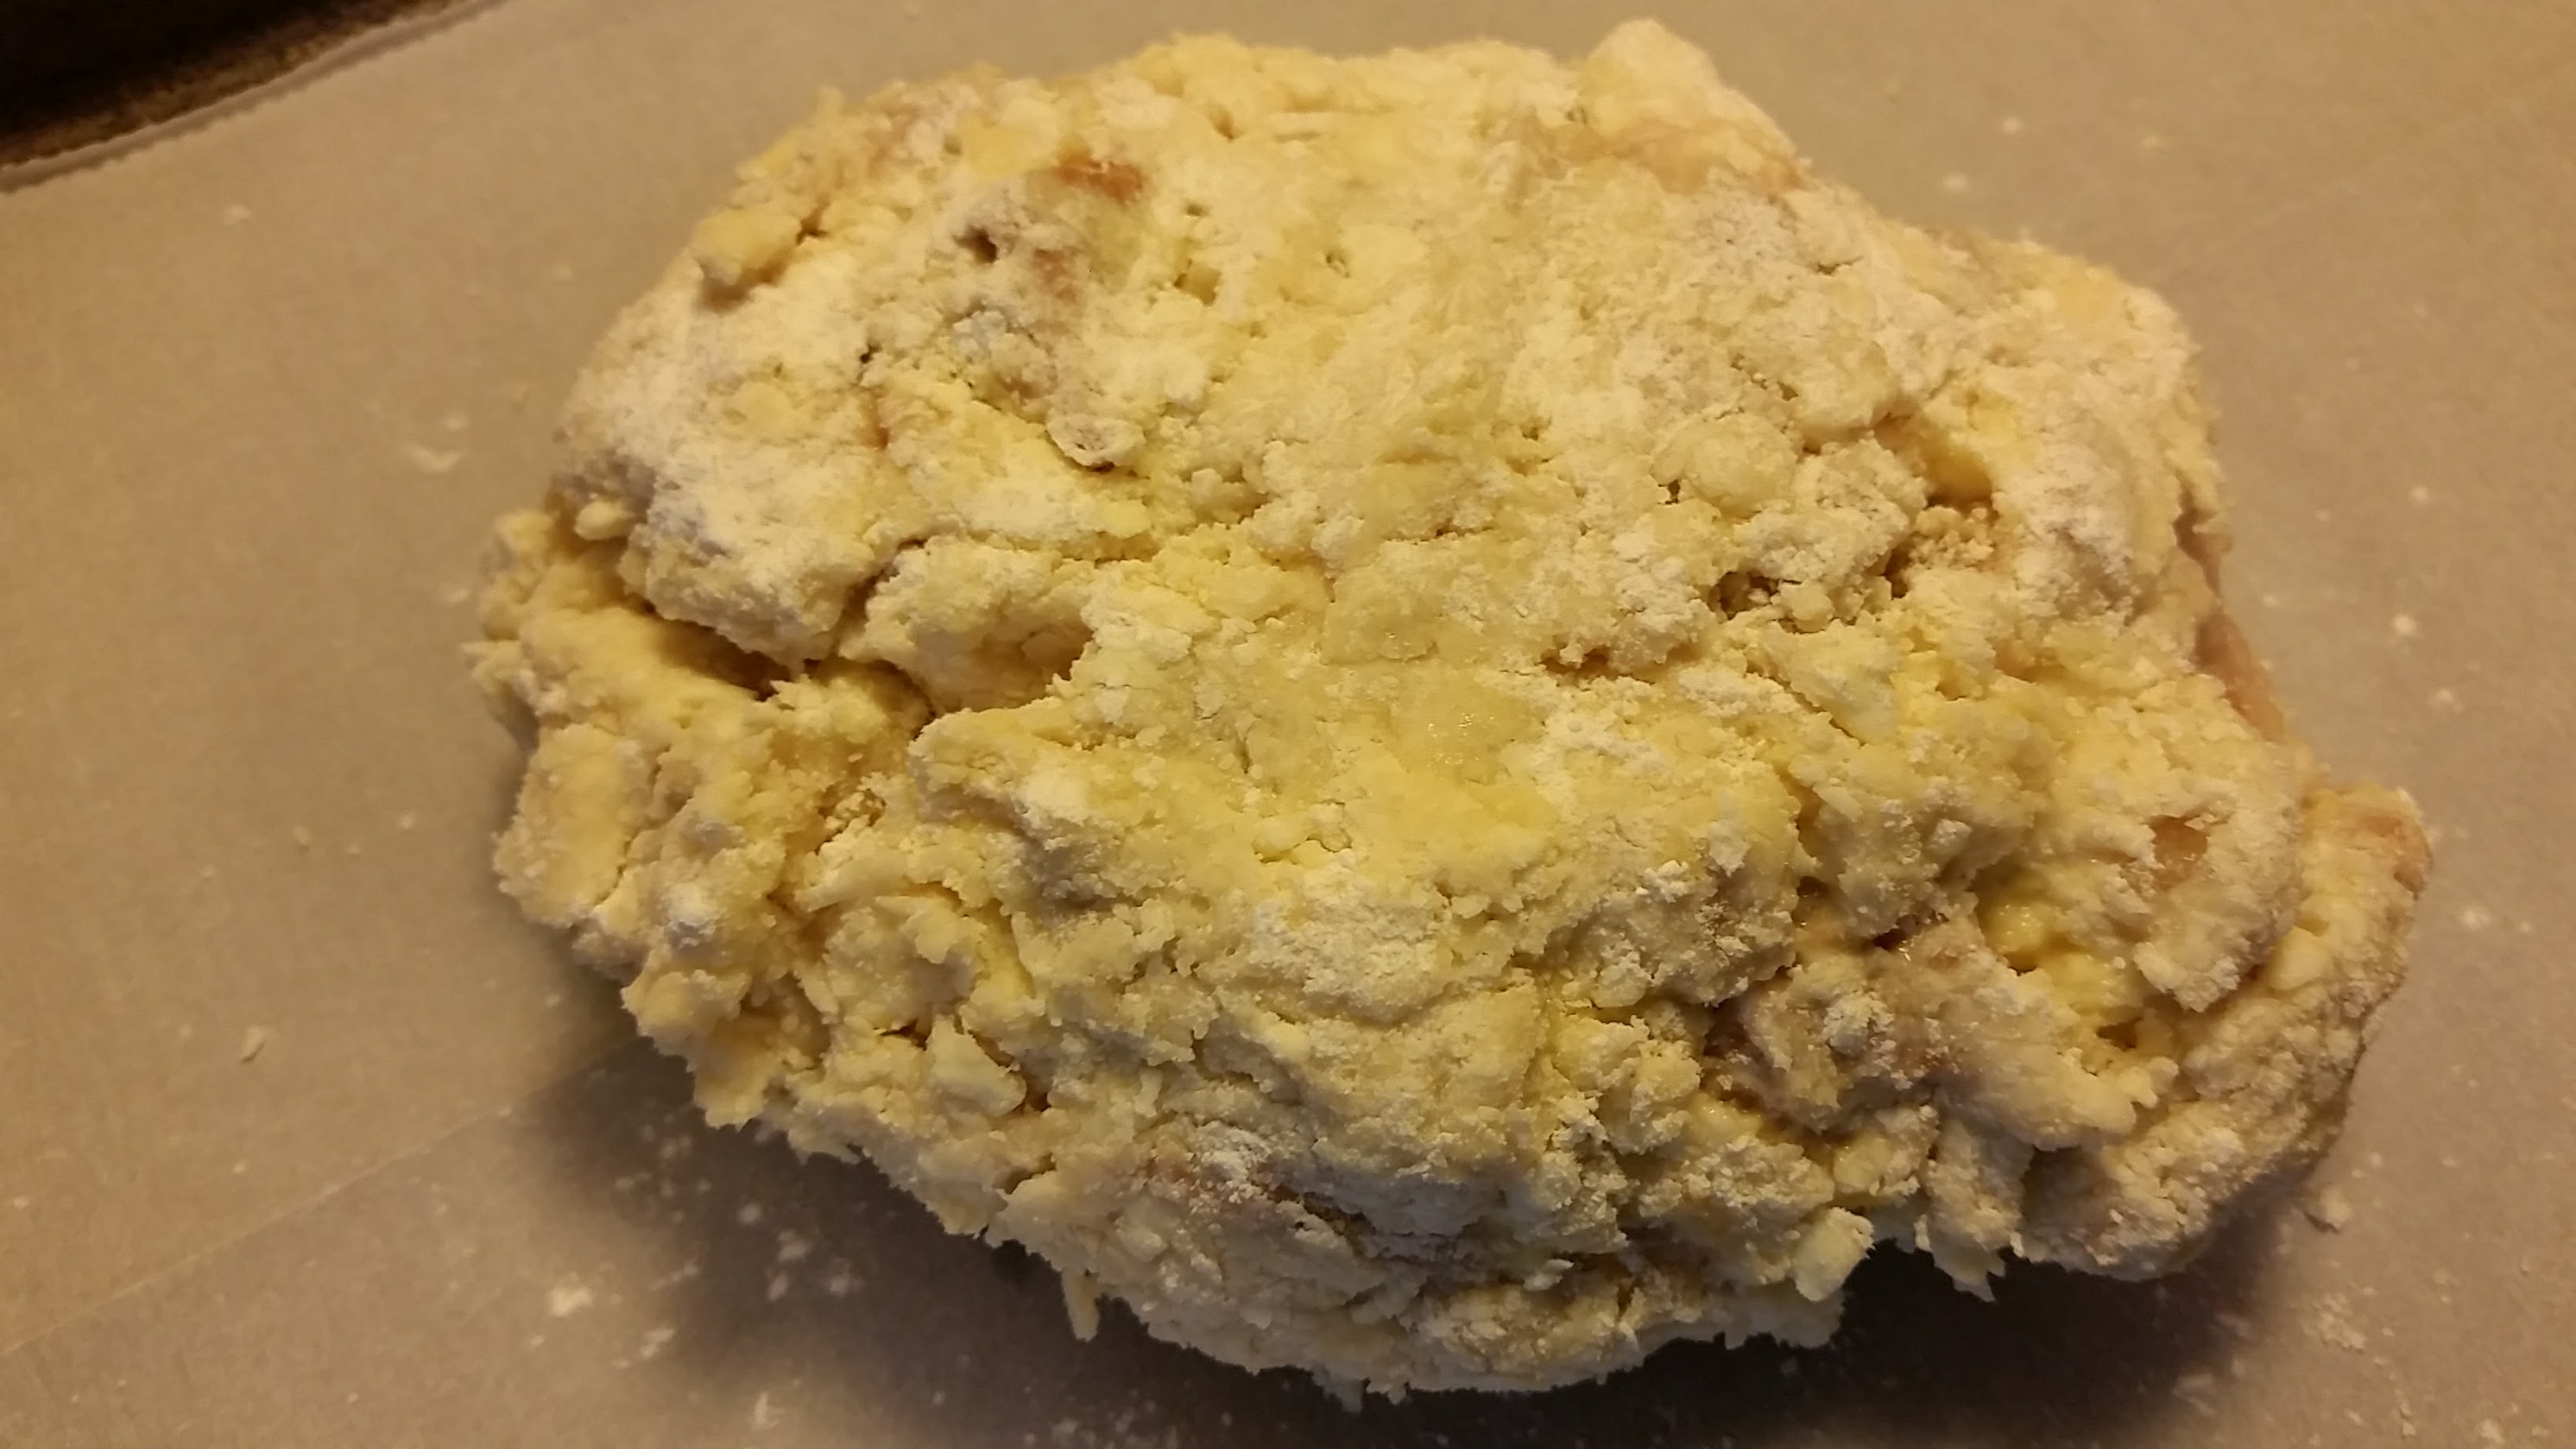
Cut the cold butter into the flour mixture with a pastry cutter until the butter is integrated and is about the size of small peas. Gently stir in the almond paste and the pear pieces with a large spoon.
Whisk the egg and then add it along with the cream and almond extract to the flour mixture. Mix gently until the dough starts to come together. If there’s lots of dry flour still, add a drizzle of additional cream to the mixture and stir gently. Try not to stir aggressively in order to avoid smashing the pear pieces, which will make the dough really sticky.
Drop the dough onto your parchment paper and flour your hands a bit. Press the dough by hand into a round about 1 1/2 inches tall. Cut into 6 wedges. Spread the wedges a few inches apart on the baking sheet.
Whisk an egg with a dash of salt and a teaspoon of water, and brush the tops of the scones lightly. Sprinkle a little sugar, and then a few almond slices on each scone and put them in the oven.
Bake for 25 – 28 mins. until they are lightly browned.
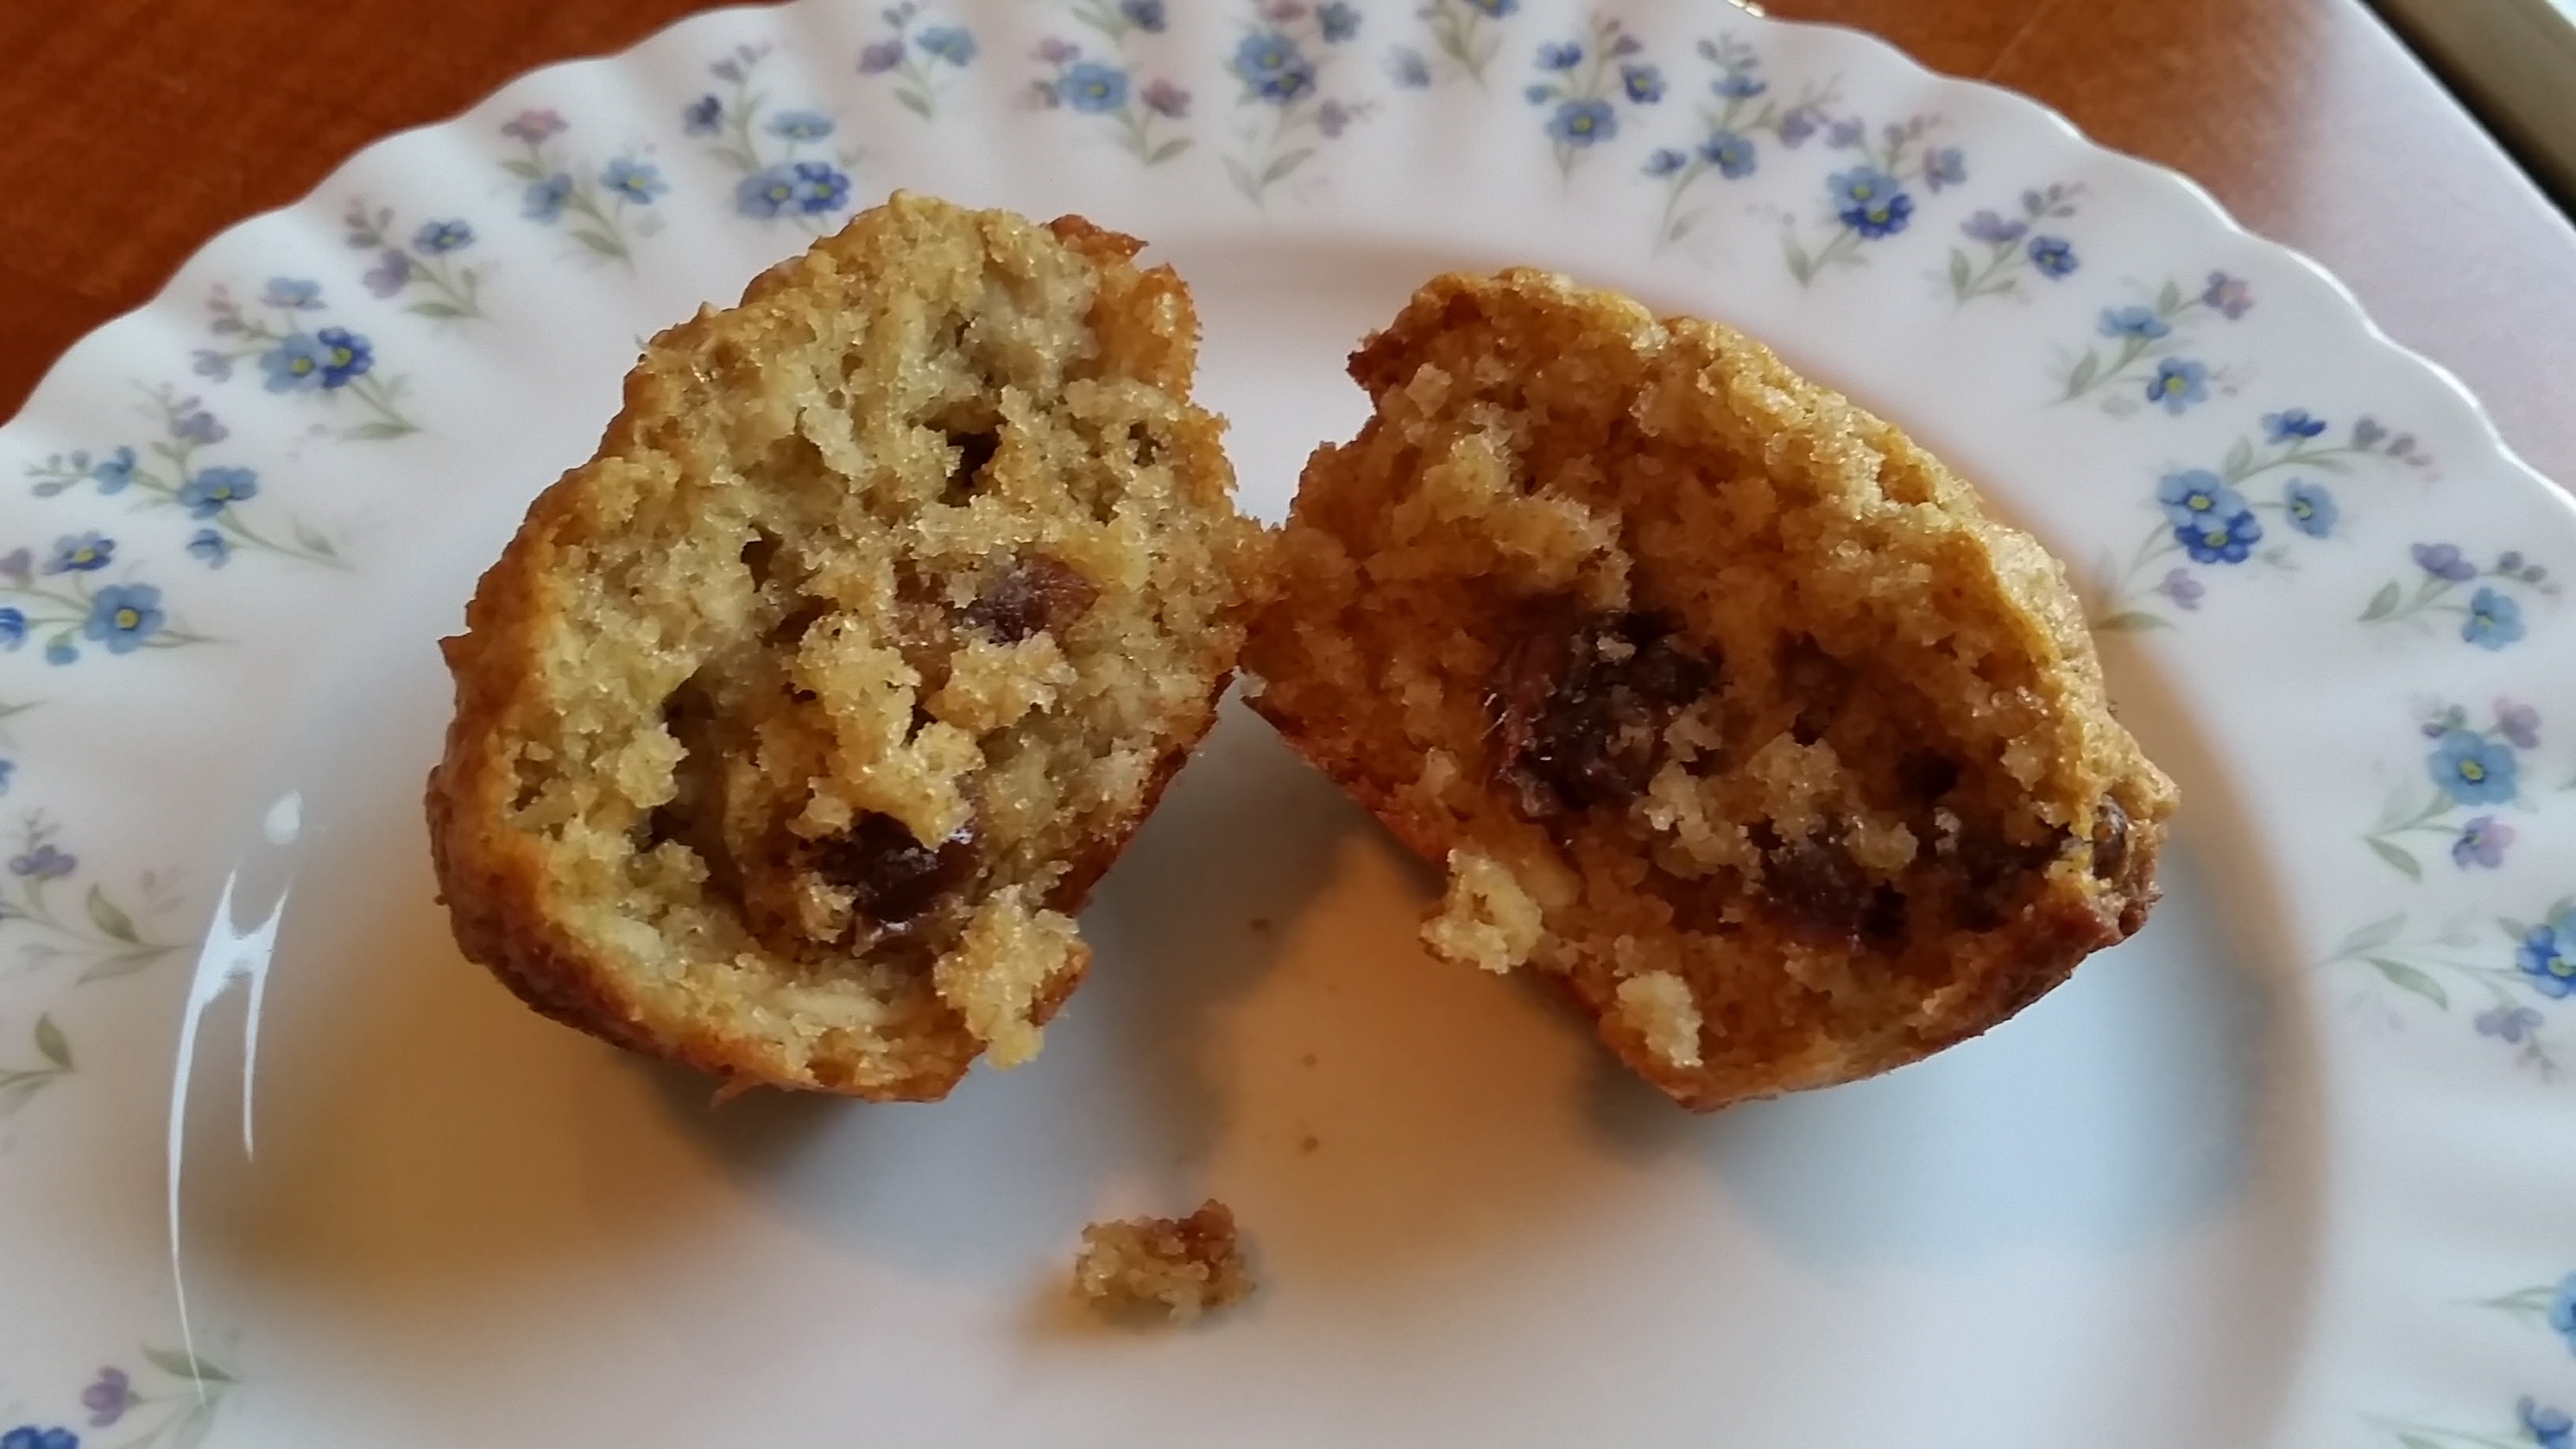
Buttermilk makes so many breakfast baked goods taste better. When a pancake recipe calls for milk, I almost always use buttermilk instead, because it creates such a moist tender crumb. In this recipe, the buttermilk plays a special role, by plumping the oats, which results in a surprisingly light pastry. The dates add a sweet chewiness, so be sure to use a good quality fresh date (not hard or dry) and hand chop it.
(Yield: 12 muffins)
Ingredients:
1 cupped rolled oats
1 cup buttermilk (I mostly see 2% fat in the groceries here, so that’s what I use)
1/2 cup (1 stick) softened butter
1/2 cup dark brown sugar
1 egg
1 cup of mixed flours (I used 1/2 cup a.p. flour + 1/2 cup spelt)
1 teaspoon baking powder
1/2 teaspoon baking soda
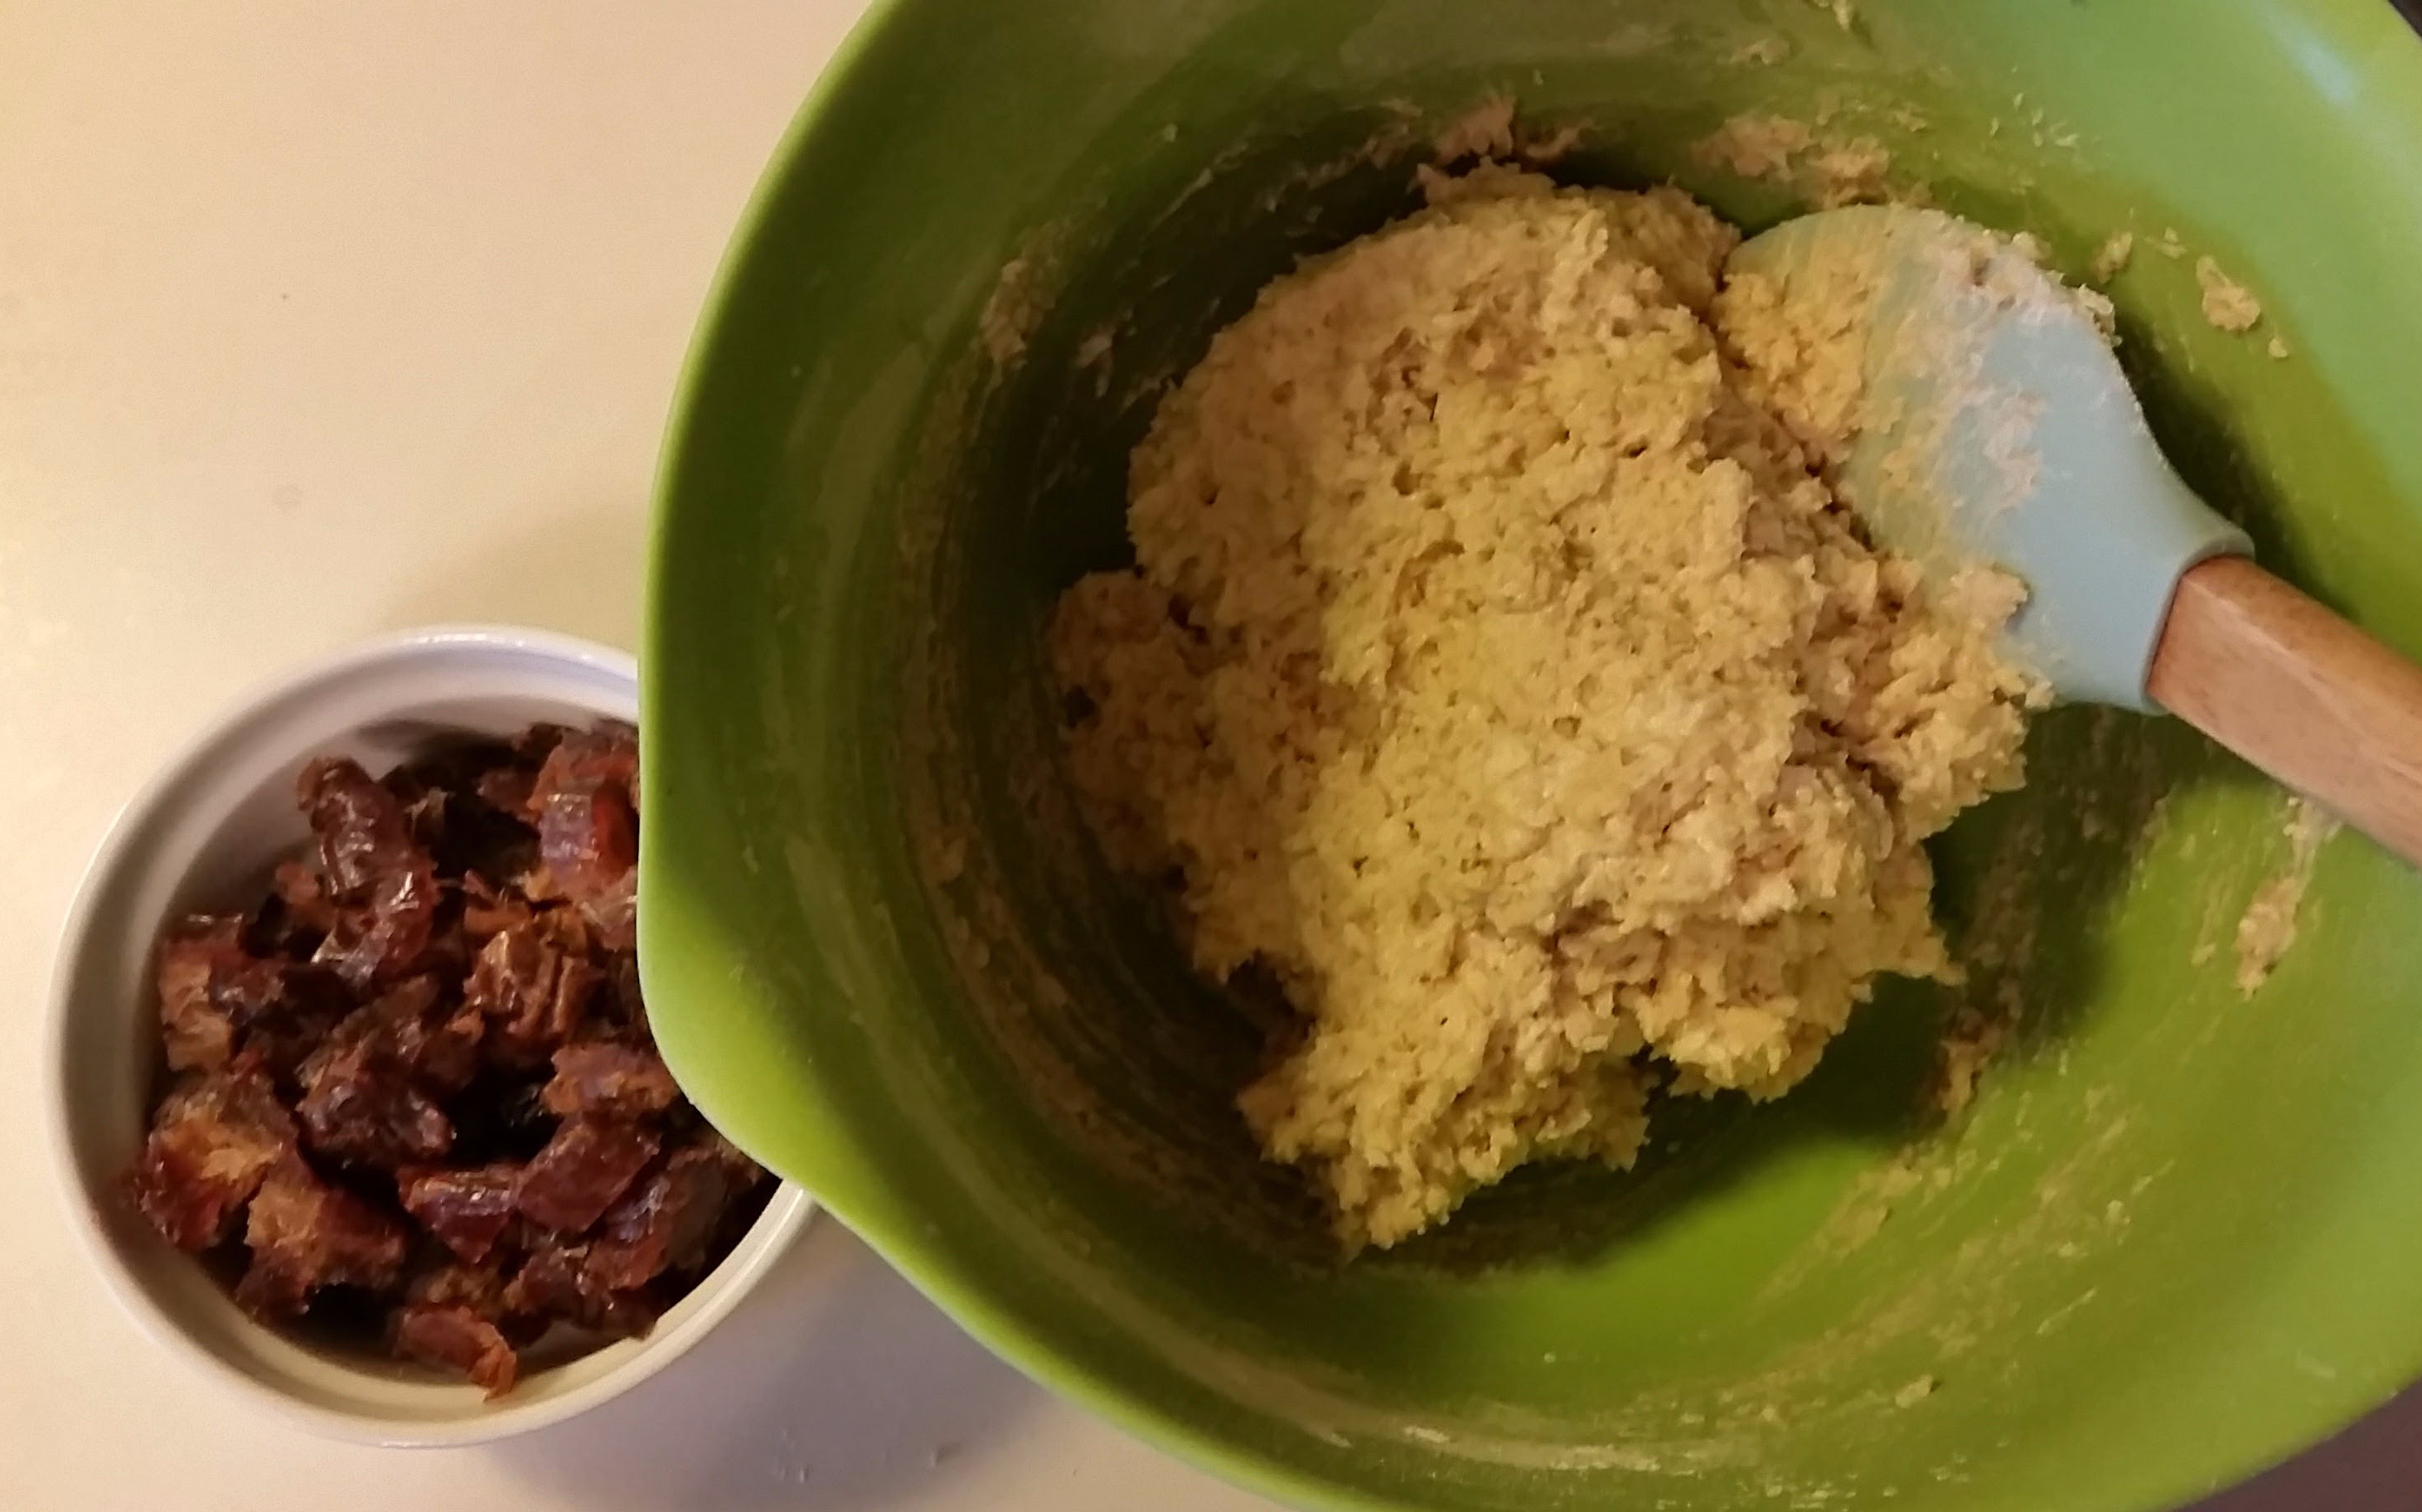
1/3 – 1/2 cup chopped dates
Steps:
In a small bowl, combine the oats and buttermilk and allow to soak for 1 hour. (Full disclosure: I could only spare 40 mins. this morning, and they still came out great!)
Preheat oven to 400 degrees and grease or place liners in a muffin pan.
With an electric mixer, in a large bowl cream the softened butter and sugar until light and fluffy. Beat in the egg.
In a separate bowl, whisk together the flours, baking powder, and baking soda. Stir dry ingredients into the butter mixture, alternating with the oat mixture. Fold in the dates.
Fill the muffin pan and bake for 20 mins., or until a toothpick inserted in the center comes out clean. Cool for 5 – 10 mins. on a wire rack and then serve with butter.
Enjoy!
(Adapted from The Cook’s Encyclopedia of Cookies recipe)
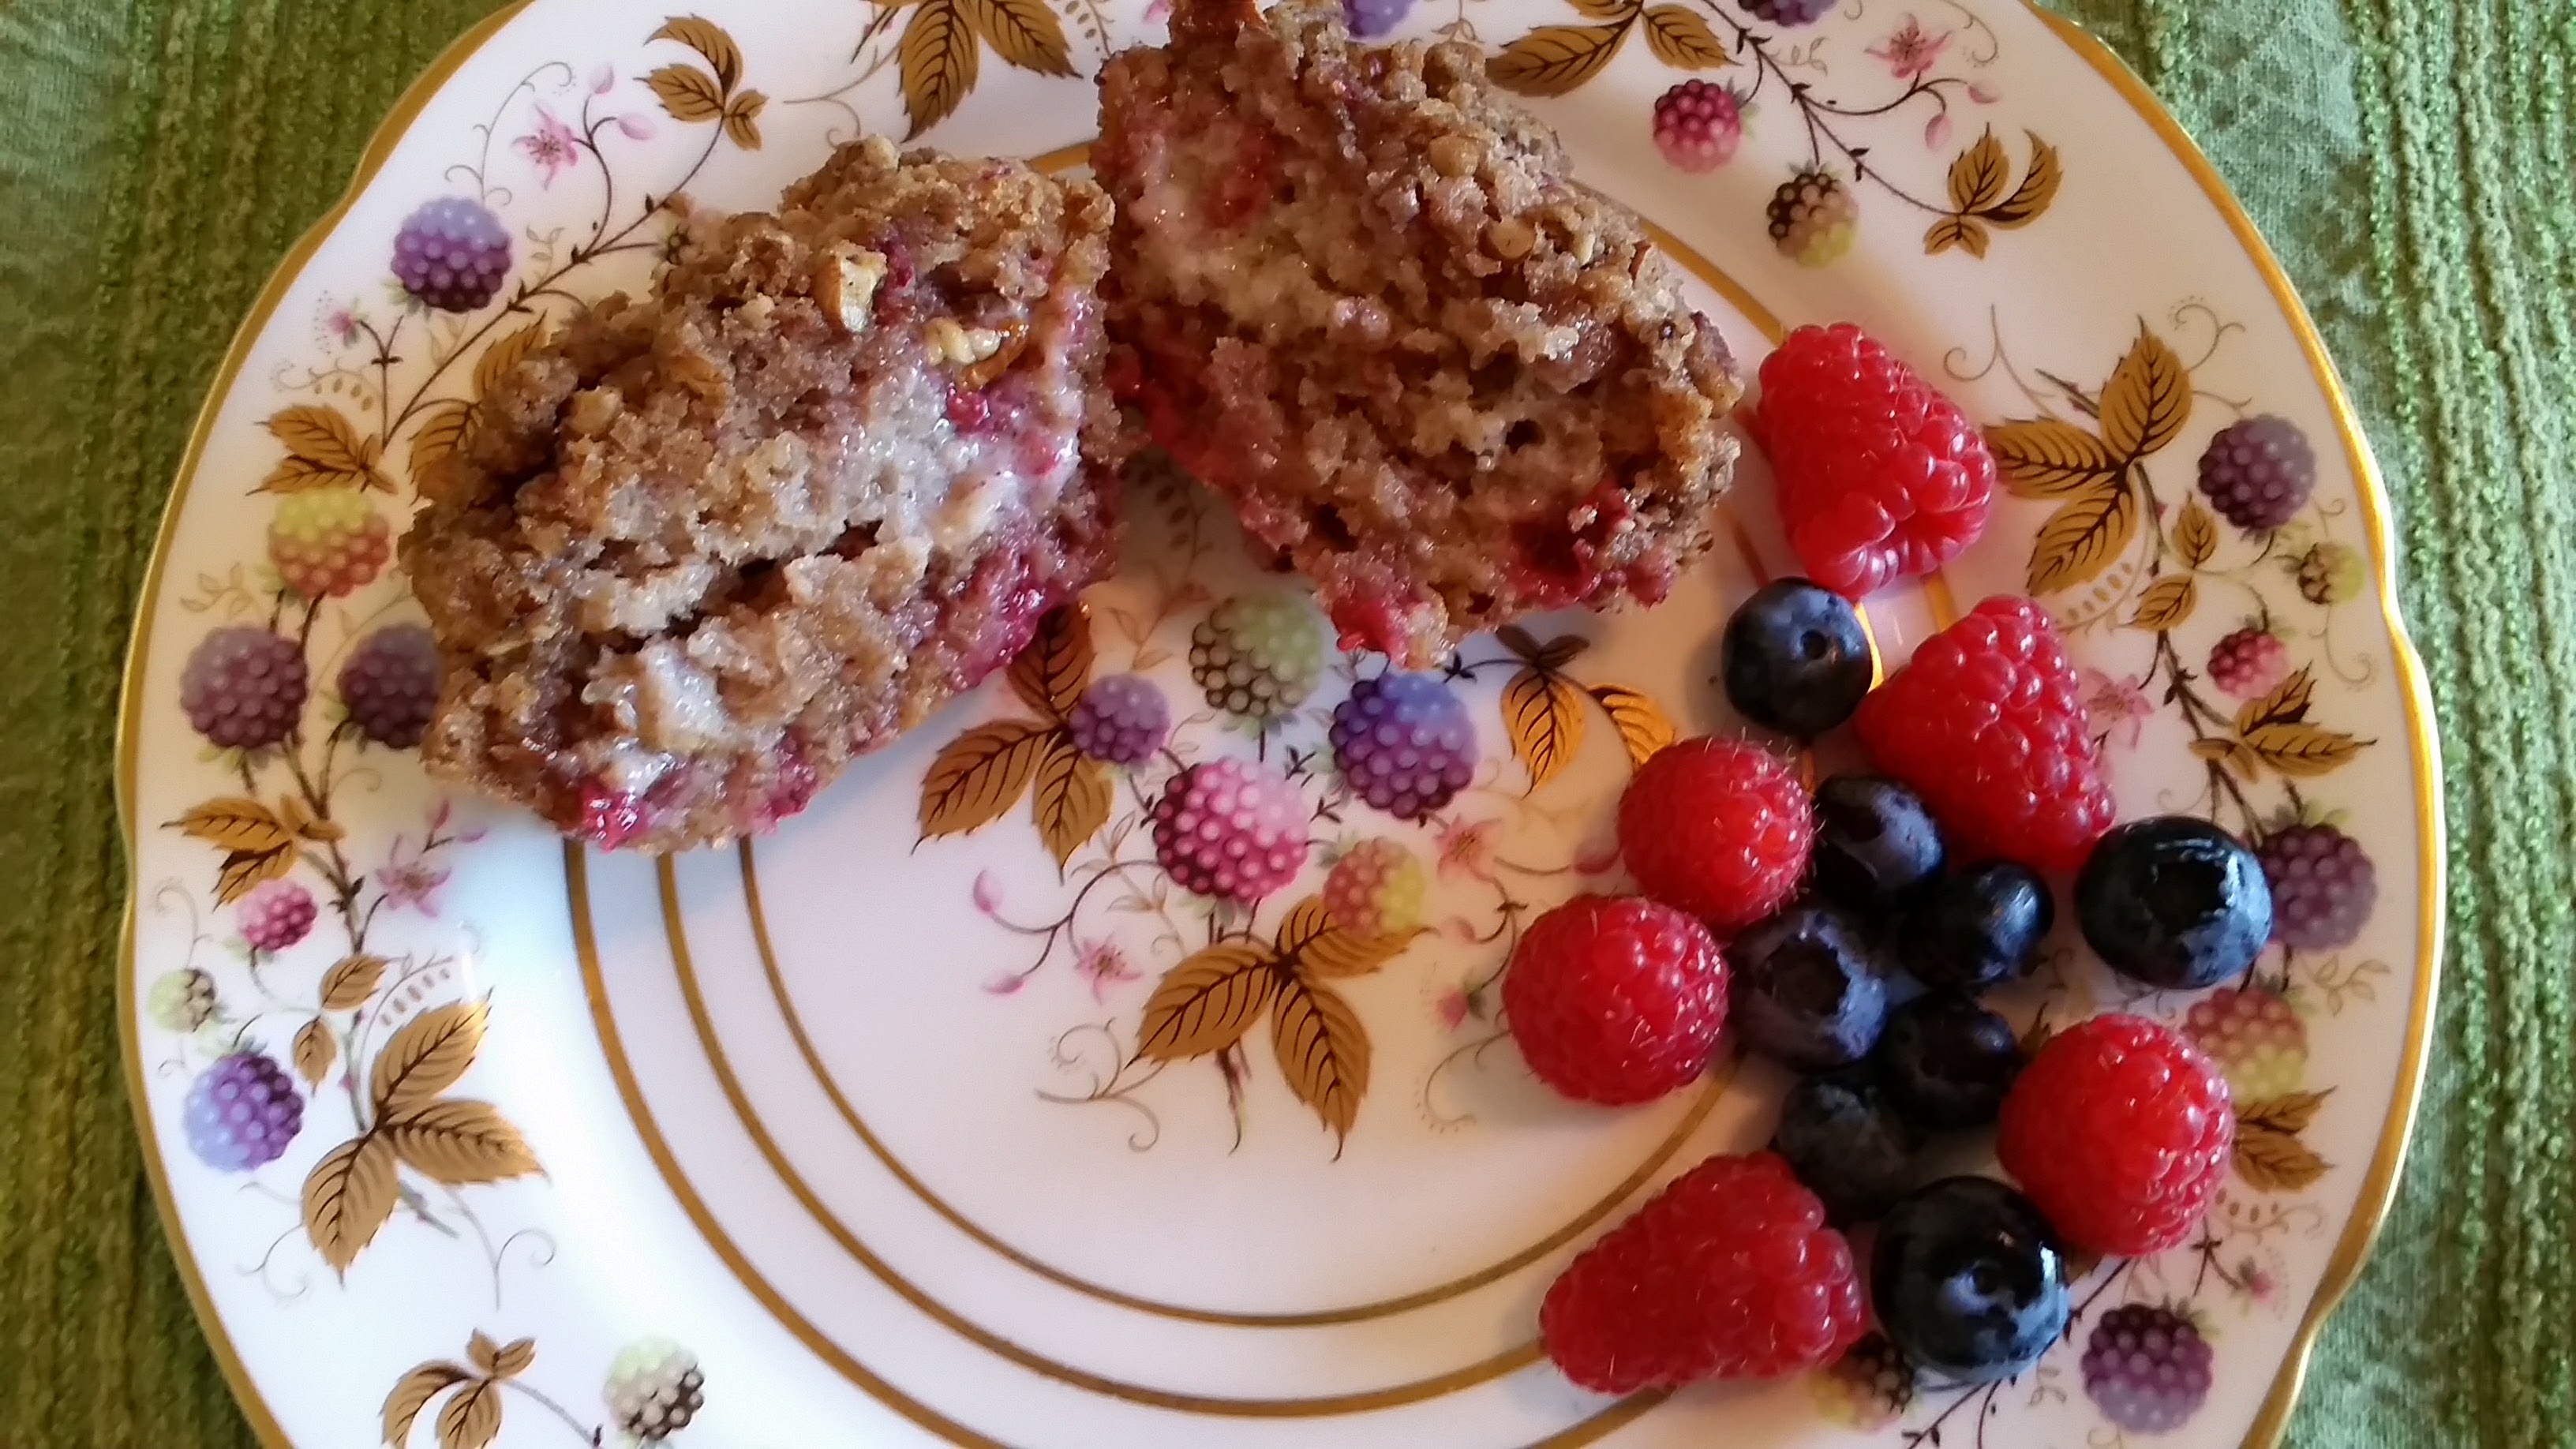
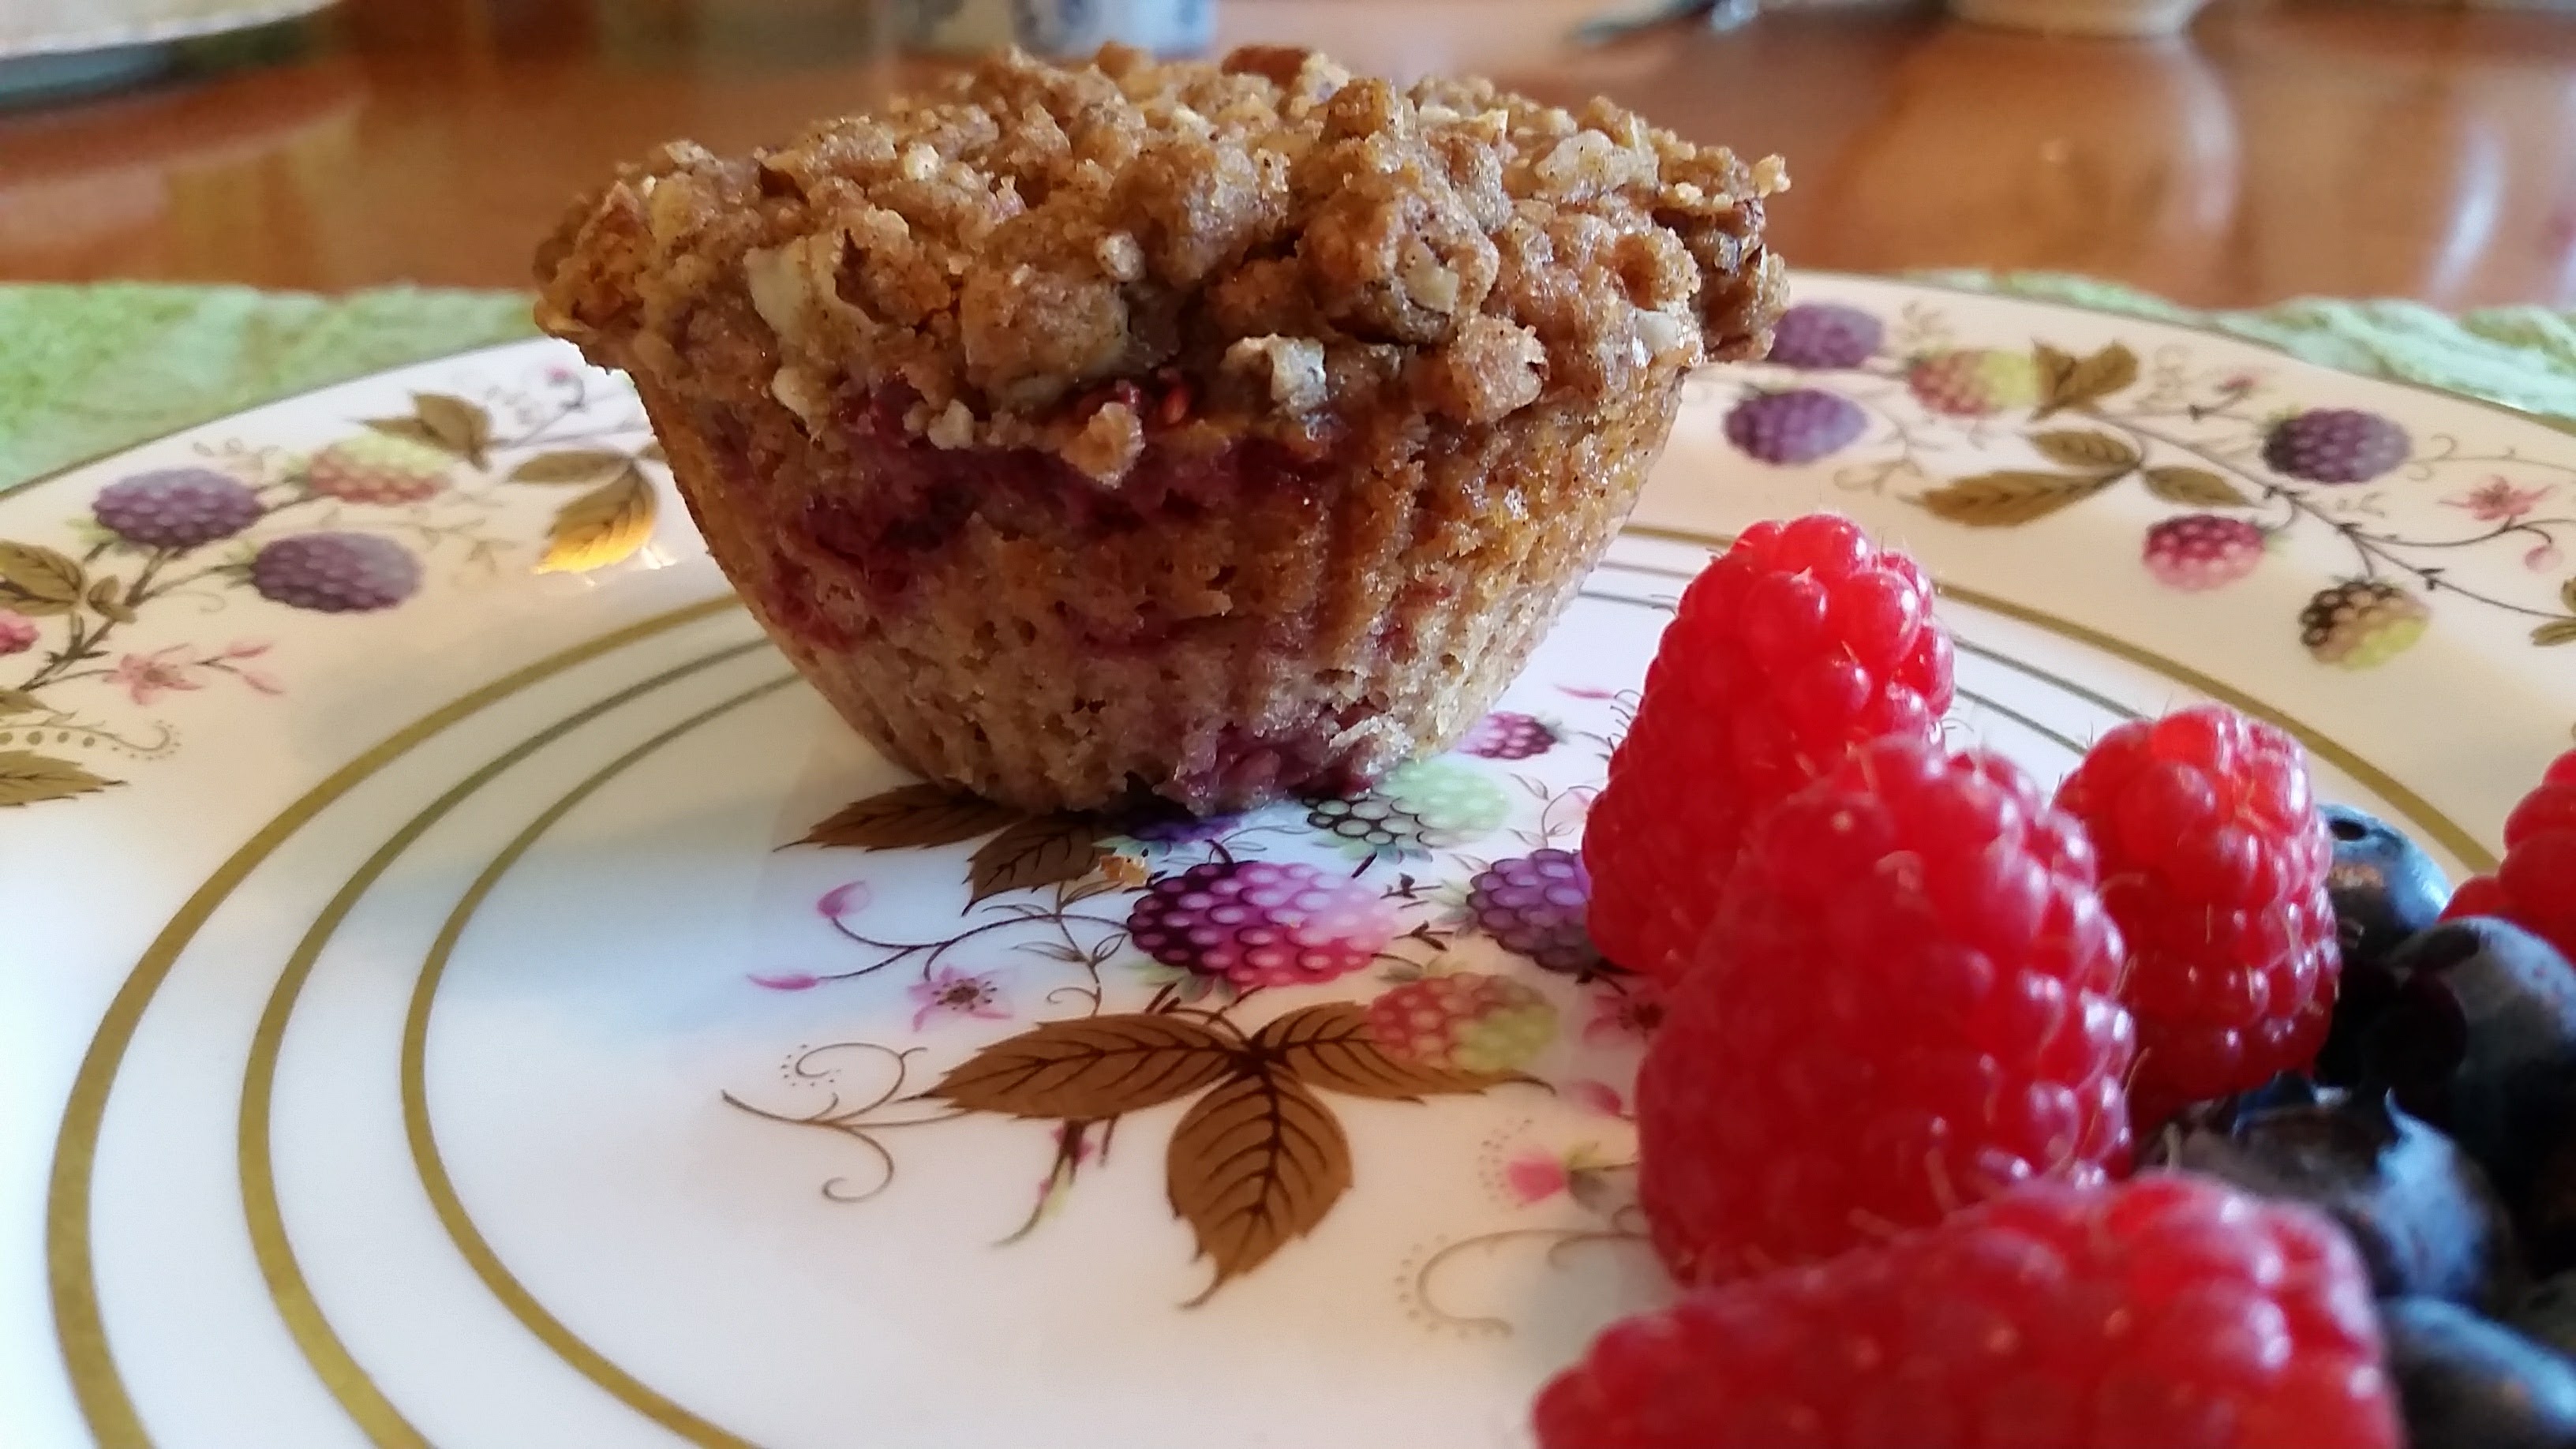
I’ve described these muffins before as part recipe and part invention, but totally delicious — which is all accurate! These are buttery, soft, a bit crumbly, and definitely fruity, thanks to a generous amount of raspberries. Frozen raspberries actually work best, since they don’t turn into mush when you fold them into the batter. They are definitely best enjoyed the day they’re baked, (the crumb topping wants to go soft during storage), but we often slice and toast them lightly on subsequent days and they’re still quite good. (Yield ~ 10 muffins)
Ingredients:
1 1/2 cups of mixed flours*
1/4 teaspoon baking soda
2 teaspoons baking powder
1/8 teaspoon salt
1/2 sugar (white or brown or a mix)
1 teaspoon cinnamon
1/4 cup (1/2 a stick) of melted butter
2/3 cup of buttermilk (regular milk is ok, but buttermilk makes a moister cake)
1 1/4 cups raspberries (preferably frozen)
1 egg
Topping:
3 tablespoons all purpose flour; or a mix of ap flour, almond meal, or oats
1/4 cup finely chopped pecans
1/4 cup brown sugar
3 tablespoons melted butter
1 teaspoon cinnamon
*I like to mix all purpose flour with whole wheat, almond meal, ground flax seed, and/or millet or spelt flour. You can use whatever you have on hand. I often start with 1/3 – 1/2 ap flour, and then add the others to reach the total amount needed. I find using some ap flour helps create a tender light crumb.
Steps:
Preheat the oven to 350 degrees and grease or place liners in muffin pan.
Whisk all the dry ingredients together in a large bowl, including the sugar.
Melt butter (for both the batter and the topping) in a small pan or your microwave.
Make a well in the center of the dry ingredients and add the egg, buttermilk, and 1/4 cup of melted butter and mix just until combined.
Gently fold frozen raspberries into batter, and then spoon batter into muffin cups until they’re nearly full.
To make the topping, combine all of the dry ingredients in a small bowl, and then add the melted butter with a fork until it forms a crumbly mixture. Distribute the topping among the muffin cups.
Bake for 25 mins. or until a toothpick inserted in the center of a muffin comes out clean.
Let pan cool on a rack for at least 5 – 10 mins. and then remove muffins and serve.