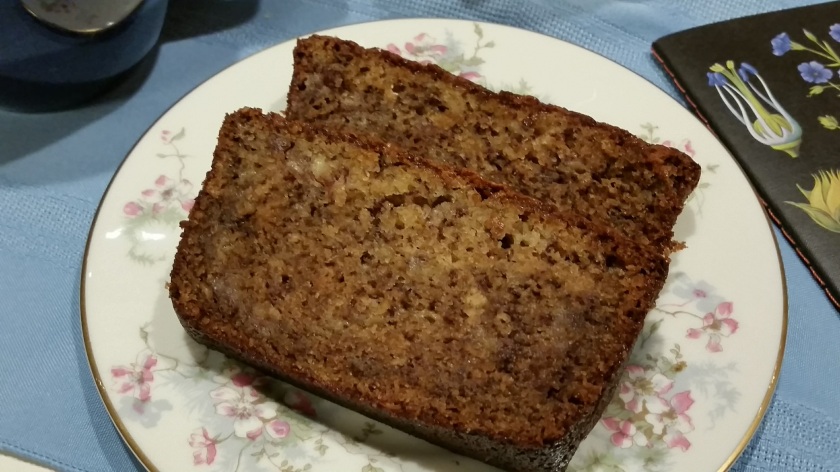
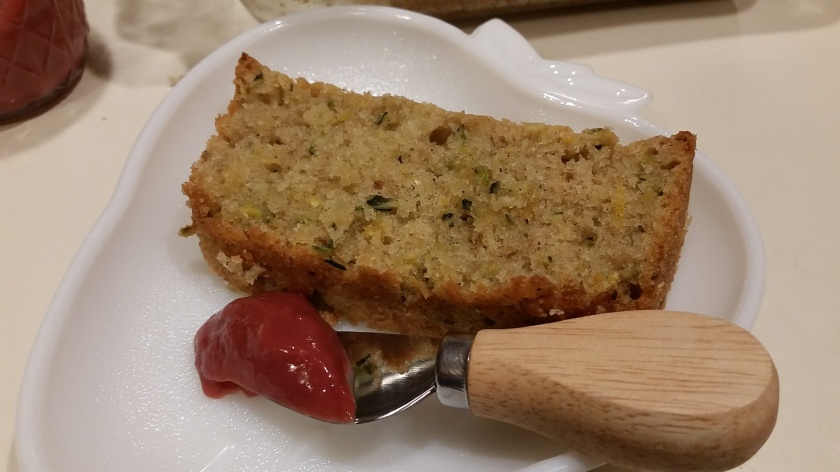
I harvested what I suspect will be the last mini-zucchinis from our garden last week (small cry). After enjoying this lemon zucchini cake for the first time a few months back, I really wanted to make it again. Note that it’s called cake, rather than bread, and that’s because the texture is so light and moist and lovely! I slightly adapted this recipe from Becca’s Vegetarian Blog and decided to write it up so I won’t forget it, and so I don’t have to weigh the ingredients next time. 😉


Ingredients:
- 1 1/2 cups grated zucchini
- 3/4 cup sugar
- 1 egg
- 3/4 cup vegetable oil
- zest from 2 lemons, plus juice of one lemon
- 1 teaspoon cinnamon
- 1 1/3 cups all purpose flour
- 1/4 teaspoon salt
- 1/2 teaspoon baking soda
- 1/4 teaspoon baking powder

Steps:
- Preheat your oven to 320 degrees and grease a 9 x 5 inch loaf pan.
- In a medium bowl, mix the zucchini, oil, egg, sugar, lemon zest and juice with a large spoon.
- In a small bowl, whisk the dry ingredients together. Add the dry ingredients to the wet and stir gently until the flour is integrated.
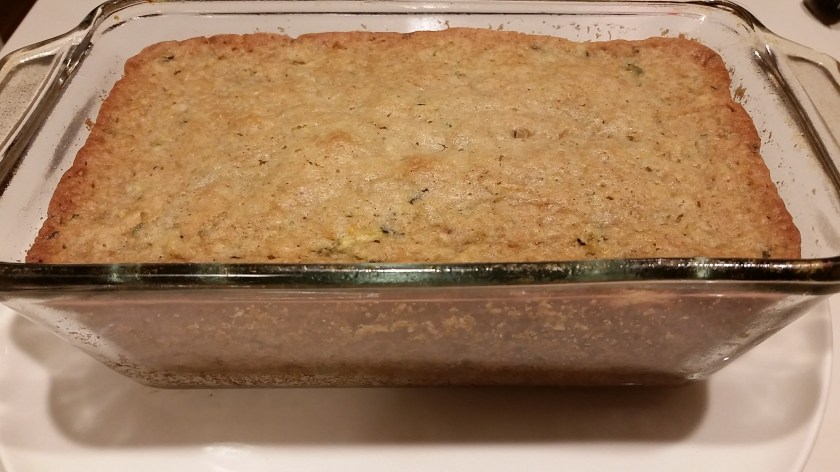
- Pour batter into the loaf pan and bake for 55 – 60 mins. until a toothpick inserted in the center comes out clean.


")
")